|
|
Post by Whiterook on Mar 29, 2022 15:20:46 GMT -5
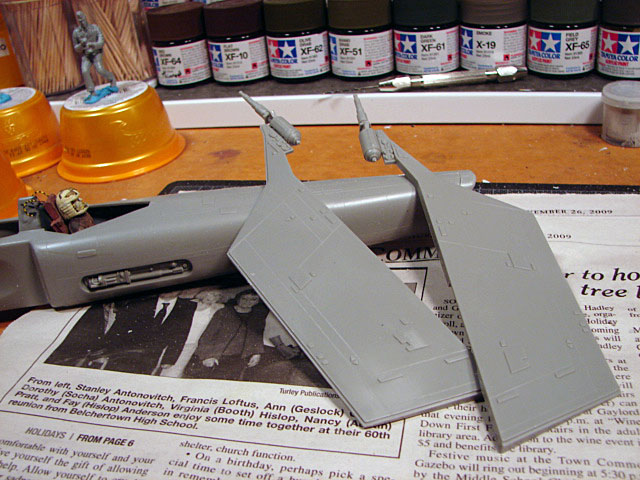
This is my version of a Battlestar Galactica Colonial Viper, from Revell’s 30th Anniversary edition  However, I wanted to do something a little different to maybe spice it up a little. I decided to make it a fictionalized, Recon Viper. No, to my knowledge, there never was such a Viper, but I figured there should have been something like it theoretically. I also decided to make the outside of the original series canon, and indeed, prior to those events, but after the series, “Caprica”. The Colonial Viper is one of my all-time favorite space fighters (though, it was also capable of atmospheric flight and ground landings!), and looks absolutely plausible for flight, whether in space or over a distant alien planet. It's a sleek and sexy craft! It also screams 'fighter' to me. For this anniversary edition, it had been updated with newly tooled details, molded in light gray plastic and clear parts.....far surpassing it's predecessor of 10 years last release prior from what I've read; and this kit came with a detailed cockpit interior and pilot figure, which is an added bonus to me. When I started this kit for Build on another modeling site over ten years ago now (yikes!), I decided to go way off the beaten path and make this a Recon Viper of the Colonial Marines Fleet Patrol, complete with under fuselage camera. So basically, since I’m going with pre-Fall of the Colonies era (when the Cylons attacked the second time), this also supports the old style pilot uniform depicted on the figure. A little bit about the kit and it’s role in the Colonial FleetI found that the kit didn't have a huge amount of parts, which kinda surprised me out of the box (pun intended). I guess I was getting so used to building more complex pieces with tons of tiny little bits, that I remember that this really threw me a bit on first inspection, wondering how much of a challenge this kit would present. In the end, it actually proved to be a satisfyng build, overall. Being a Revell kit, perhaps this is more of a starter kit? But the addition of scratchbuilt extras and moving away from the kit out of box and tailoring it to a specific purpose brought the model to life for me! As mentioned, what I ended up going for was straying decades before the events in the original Battlestar Galactica series canon, and modelling after the First Cylon War; a Colonial Marines Fleet Patrol (MFP) Recon Viper, piloted by the intrepid, yet ruggedly handsome Captain Gallant ....inside joke  In my version of the Battlestar Galactica universe, the MFP was a squadron of elite fighters and served as recce deep in Cylon territory, which forced these birds to fly long sorties; fly in atmospheric low-level flight; and duck & go in asteroids and interstellar dust clouds …and well, just get the ever livin’ crap beat out of them! This means they were 'dirty birds' in more ways than one: Both in appearance, and in lethal stealth kills. These pilots were Top Guns of the Colonial Fleet....and damned good at Pyramid! This viper would be flown by the intrepid Captain Gallant, call sign “Bullet”. The bird is equipped with high tech recce photographic gear. It also has more than traditional positional thrusters in the nose and tail, for long range orbital positioning. |
|
|
|
Post by Whiterook on Mar 31, 2022 11:08:15 GMT -5
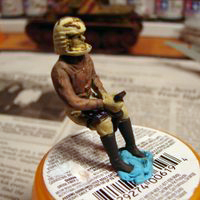
I built this kit about ten years ago, and it was a pretty quick construction of the kit parts supplied, as there were not a lot of little fiddleybits to the kit, but I did do modifications, scratchbuilding and alterations; as well as a new chipping technique (hobby knife!) and oil paint weathering to the paintjob. Some of the pics in this thread will be thumbnail size... for some reason, when I saved these pics onto a thumbdrive, it saved them as a thumbnail image, rather than full size...I have NO idea why that happens! So, first up was the cockpit tub, which though fairly true to the original series Viper, it was way too plain for my tastes so first, I airbrushed Tamiya Black Gloss on the interior. Then, I scratchbuilt arm rails. For the arm rails, I’d found the pic with the pretty pilot you see, which gave me inspiration.     
I then scratchbuilt a seat back frame and test-fitted the pilot for fit, and I test-fitted the pilot for fit, but decided the top of the seatback needed a headrest.
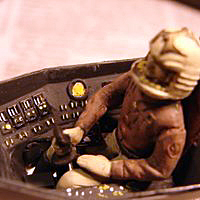
   I felt I was on the right track! I next added wiring/ejection seat and a scratchbuilt center control stick plate. Then it was time for interior paint.      The Draidis (Radar) console is a decal; the controls were all hand painted with a very fine artist brush. |
|
|
|
Post by Whiterook on Mar 31, 2022 11:43:47 GMT -5
|
|
|
|
Post by Whiterook on Mar 31, 2022 19:13:16 GMT -5
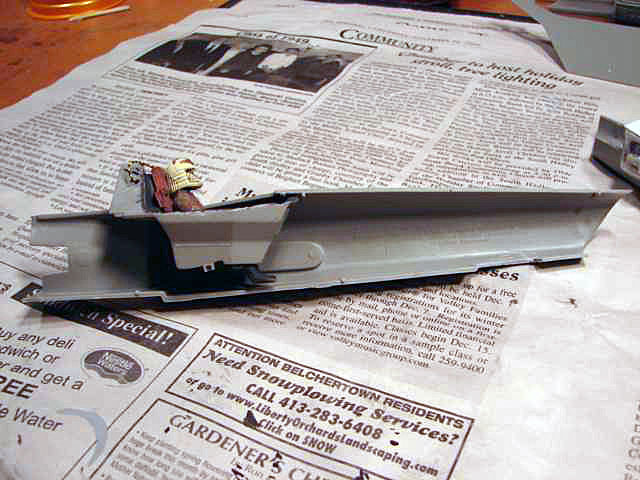
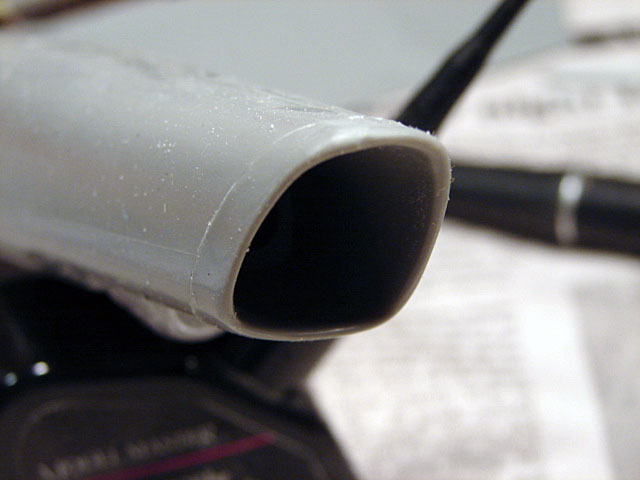
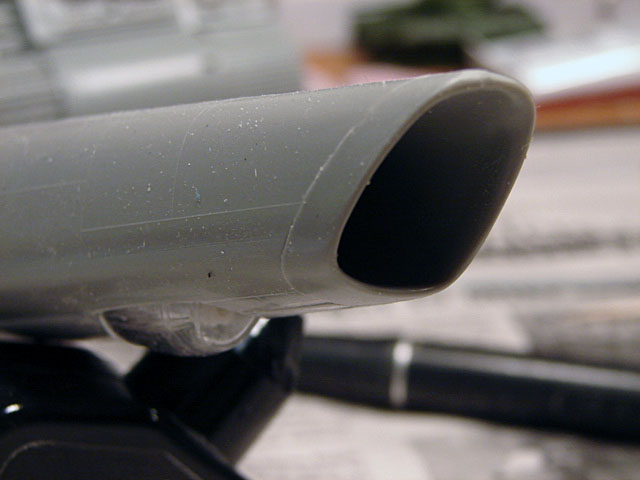
That cockpit tub was a little precarious attach, but both nose shell halves keep it propped with little pins. I was glad thr figure came in original series uniform, as it fits the kits’ storyline! Finishing touches were made to the cockpit, including the “stick”, but then came my next issue… I needed to adjust the cockpit canopy, which because of the addition of a pilot’s seat, didn’t seat down (no pun intended) right, and had to be notch cut and filed in back. I also attached the ejection seat wiring to the rear of the seat.     Next up, the recce camera! I built that out of some spare parts in my bits box - where all my unused bits from different kit builds go. It was a pretty rudimentary assembly, and I decided not to go crazy painting it in the end!     I next, needed a mounting plate to go against the underside nose hull and to what the camera would rest in, within the camera canopy.    Then, I needed a box shell for the camera to be attached to the canopy plate. Using styrene, I got to choppin’ “n gluing. 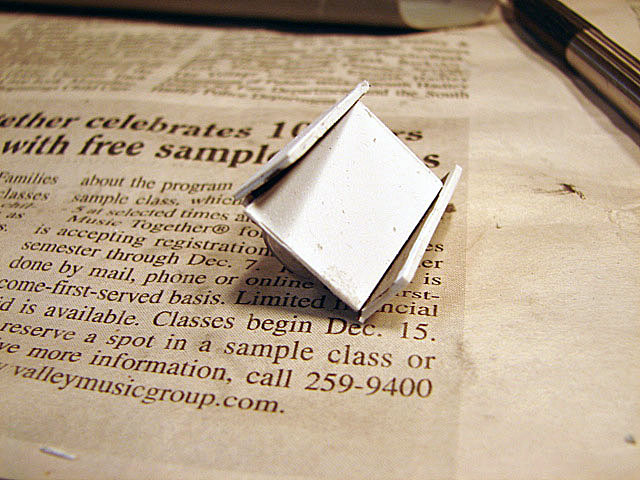  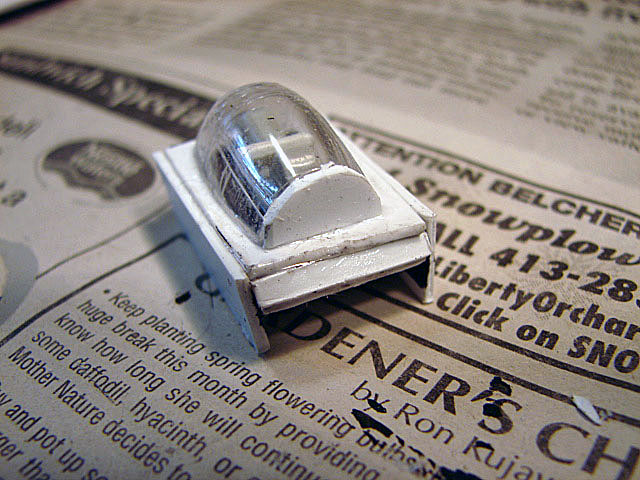 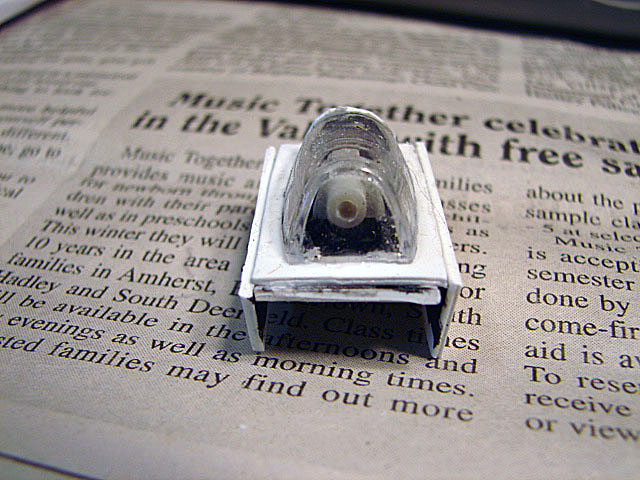 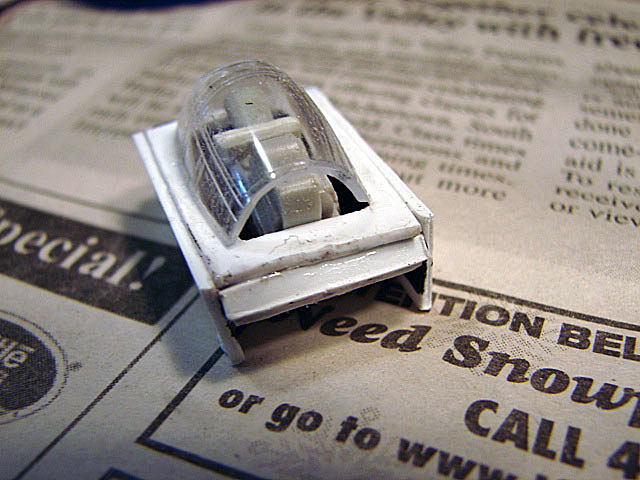 And finally, attaching the camera assembly to the underside of the. Viper’s nose! First, I taped the nose halves together temporarily and marked out the cut area using the canopy from the bits box. 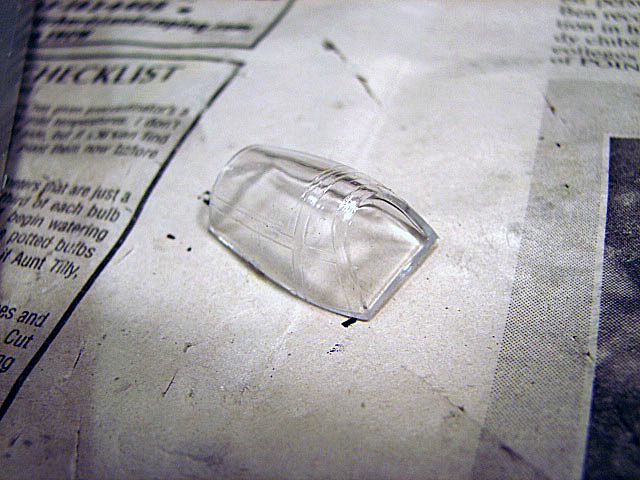 Then cut the hole through each half. Next, I attached the camera assembly to one nose hull half.    .   I glued the nose hull halves together and breathed a sigh of relief! |
|
|
|
Post by Whiterook on Mar 31, 2022 19:40:07 GMT -5
I pick up spring clamps of different sizes and configurations when i see them in dollar stores and supermarkets! These particular ones work wonderfully for things like this!   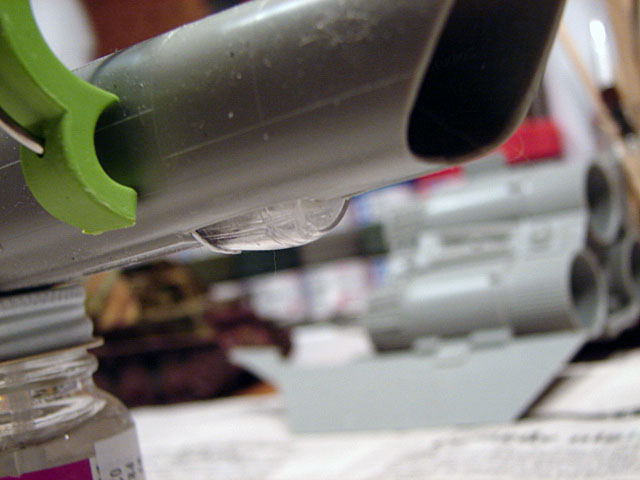
As you can see, the recce camera sits nicely and even looks darned aerodynamic!!! I liked the way it came out. |
|
|
|
Post by Whiterook on Mar 31, 2022 19:47:02 GMT -5
|
|
|
|
Post by Whiterook on Mar 31, 2022 20:05:39 GMT -5
|
|
|
|
Post by Whiterook on Mar 31, 2022 20:15:35 GMT -5
|
|
|
|
Post by Whiterook on Mar 31, 2022 20:22:34 GMT -5
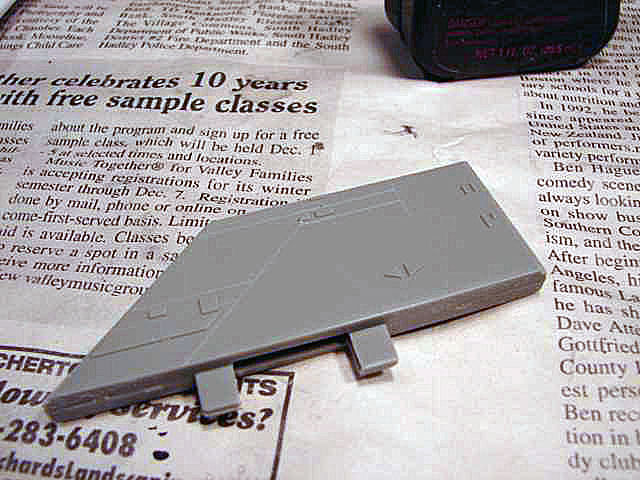
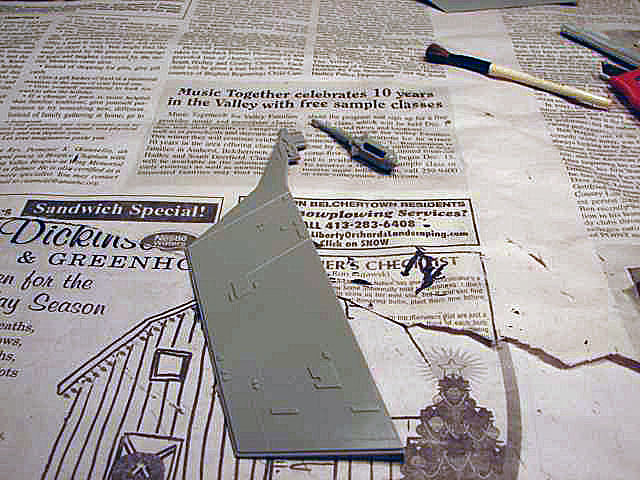
After dryfitting the wing tops on the wing, I noticed the hole and join for the lower half of the ship and wing bottoms was visible and stuck out terribly. Bad design on this part of the kit. I added some Squadron Putty to the area, let dry, and then sanded it down. I wanted this to be finished and ready to go before I glue the wing tops on 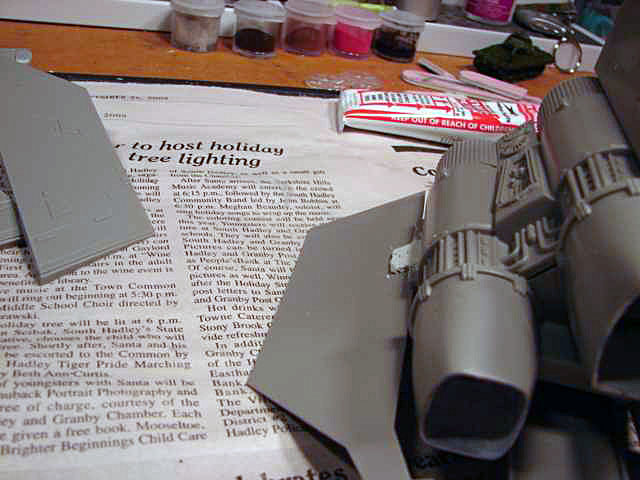 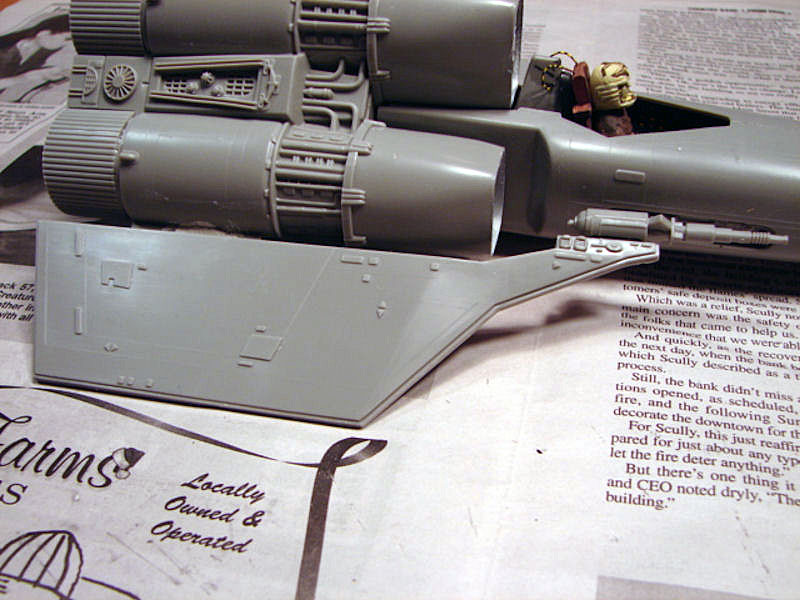 So the main assembly of the Viper was seeing all the major components of the fuselage and engines come together, which only left the cockpit canopy and the stand to assemble. I completed worked on the top half of the wings, attaching them to the lower wings; along with a little more Squadron Putty added to seal up a nasty join. The wings married up nicely, with few gaps. I needed to do a little finish sanding to smooth them off a tad. Also done was attaching the front fuselage to the rear engine/thruster section. This was a little more precarious, as the instruction gave no indication as to what adheres to what, so some eyeballing of the parts and guesstimation resulted in my slapping on some glue and hoping for the best; and luckily, I nailed it first time out! Now, it's starting to look like a Viper at that stage. 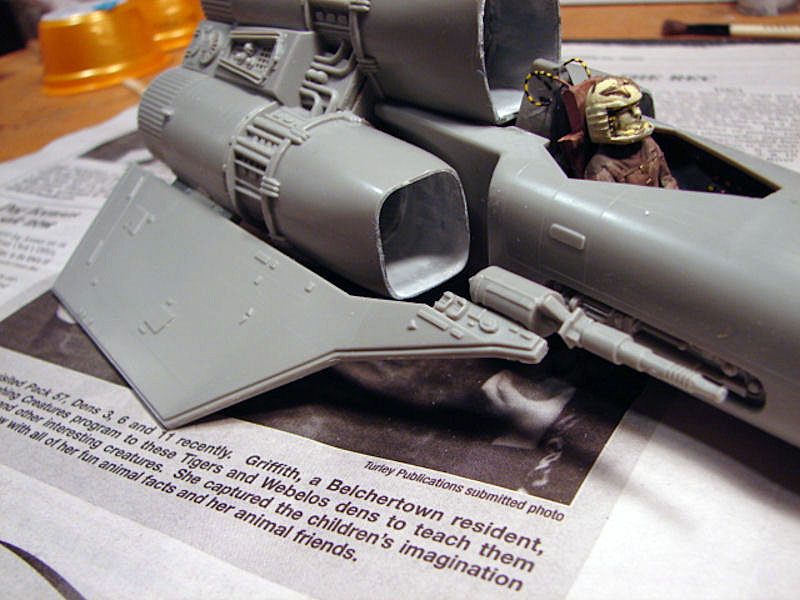 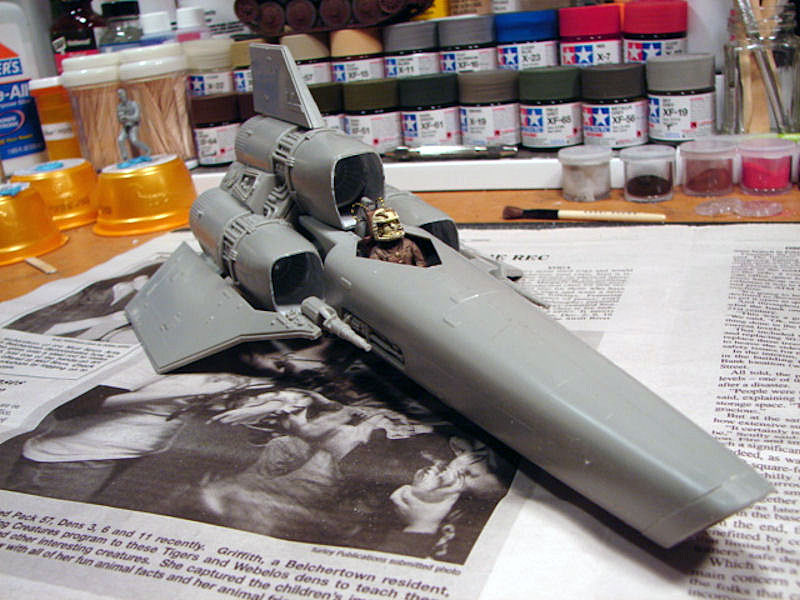  Those kinetic cannons look frakkin' AWESOME! I also really liked the way the camera bay turned out, and inspecting the craft from several angles, it looked like it was meant to be there....a good thing! |
|
|
|
Post by Whiterook on Mar 31, 2022 20:35:59 GMT -5
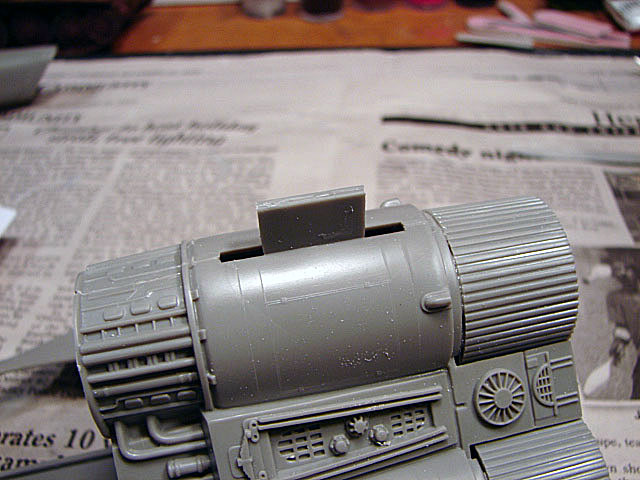
So back to the Pilot's canopy, where I mentioned earlier that there were problems with the dry-fit, and I'll go a little more into detail here: The top thruster nacelle (in back of, and above the Pilot's shoulders) was elevated above the main (long) fuselage. This caused a nasty gap between the main interior cockpit and the canopy support to the rear of the Pilot. The obvious solution was to cut down the rear of the clear plastic canopy section at the rear, which you can see here...   The ejection seat loops had to be moved forward a tad, as they became 'invisible' in the rear cockpit (or at least, they would after some paint went on the rear canopy). So to trim the back canopy down, I scored it with a craft knife, and then chipped pieces off with my sprue cutters. Worked well enough. I didn't like the look of the cockpit to upper nacelle so, I scratchbuilt a support, which I also envisioned as an avionics package housing   |
|
|
|
Post by Whiterook on Mar 31, 2022 20:39:18 GMT -5
I decided to paint the inner portions of the thruster nacelles, and weather. The thought process was, it's naturally easier to paint the portions now, rather than trying to angling in with a brush later. This was another reason to paint the rear half of the canopy as well, done with "FolkArt Acrylic's" White. FolkArt Acrylics is super cheap in price (as well as quality), but remains a favorite of mine for certain paint application decisions. It goes on in few applications and can be somewhat bulletproof, for areas that need to look bulletproof! It took several coats, which it typically is on this clear plastic. Later on, I would find that Future Acrylic floor polish makes this job much easier, for any acrylic paint applied to clear plastic. Then it was simply a matter of gluing the canopy to the fuselage. With the canopy lying EXACTLY on the cockpit perimeter, it was preferable to glue plastic to plastic, as the canopy will get a little paint on the 'metal' frame later, with heavy weathering. Next was cleaning up some panel lines....always fun. Actually, it is! Very Zen. Note that I usually would have used some Squadron Putty to get an ultra smooth 'seamless' look, but most of this area will either be covered with decal or heavy weathering, so all that was required was a nice smooth and even surface. Next, taping! A little Painter's tape did the trick nicely...I love my Tamiya tape, but sometimes the expensive stuff takes a side seat to the cheapo stuff (Hey, I'm from New England...Frugal, remember?),. Also applied to the cockpit canopy and the camera canopy under the nose. 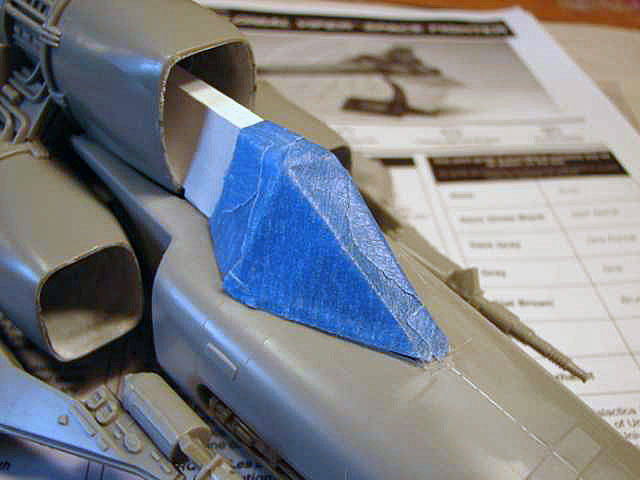 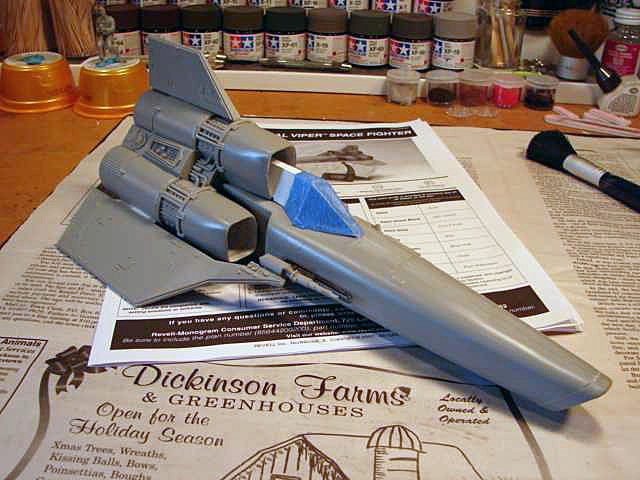 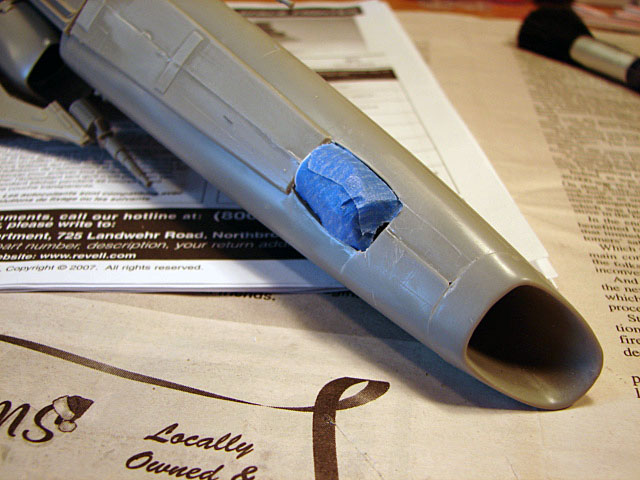 |
|
|
|
Post by Whiterook on Mar 31, 2022 20:56:53 GMT -5
It's Paint Time!!!I use a PACE Mini Plus airbrushing booth, found here: PACE    Initially, after having taped the clear parts, as shown above, I airbrushed the entire model with Tamiya Acrylics X-2 Gloss White. But, I was being lazy on the cockpit canopy....I knew I should have masked off the canopy so that the 'frame' was exposed, so that I could airbrush it; but again, if you didn't catch it the first time...I was being lazy, and figured I'd hand paint it. Bad idea! After thinking about it a bit, and coming to the realization that hand painting clear plastic is a pain and a half (streaky at first, and having to build up way too many layers); plus, good luck getting even edges, even with a steady Artist's hand!!! Well, I came to my senses and, I re-masked the canopy.... 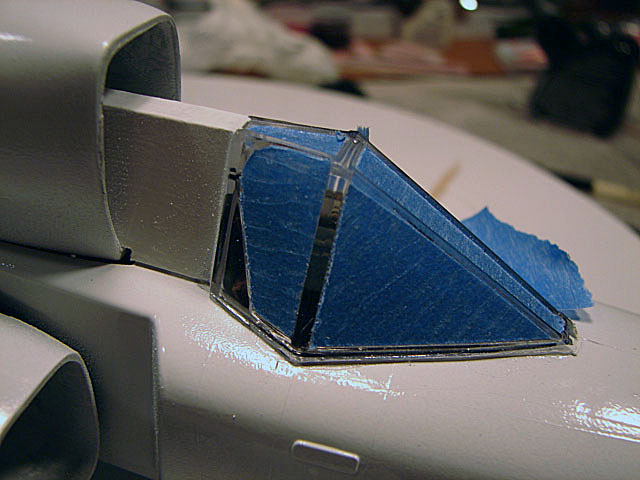 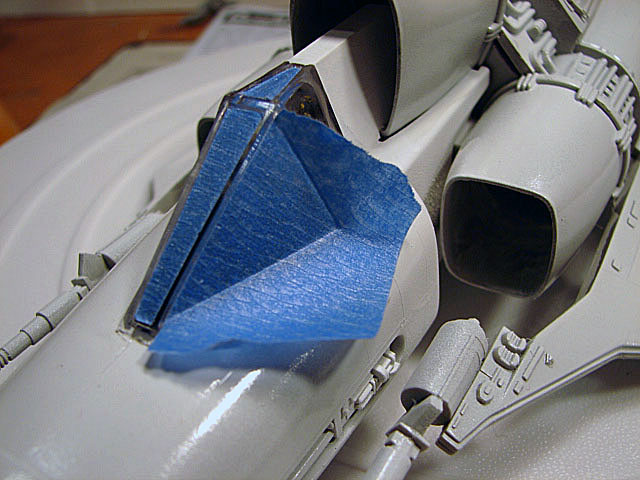 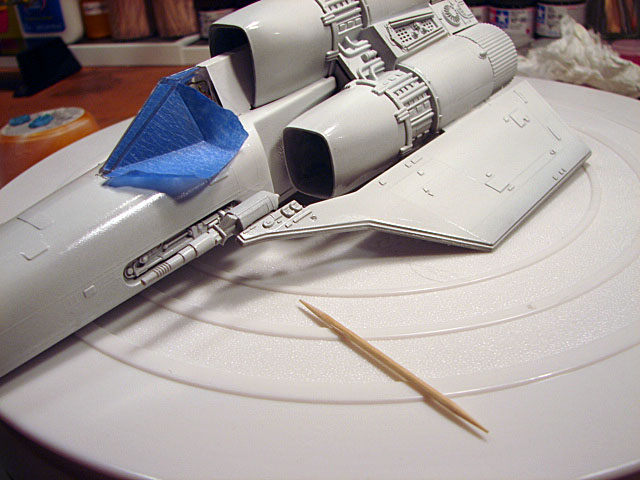 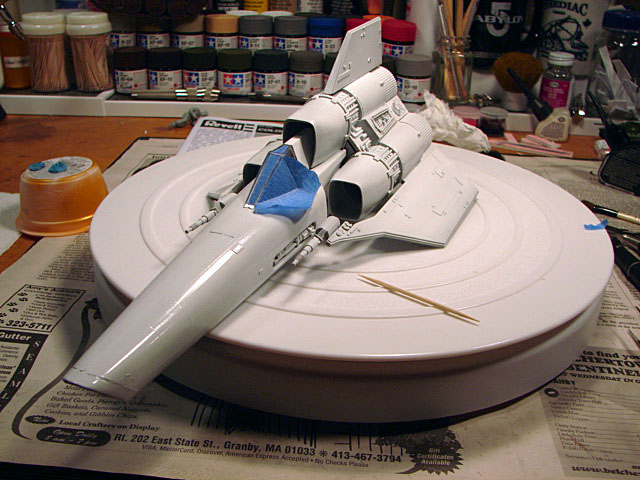 My method on that canopy was simple: Rip a small piece of Painter's tape, and lay it straight edge up just past the molded canopy frame (the model's molded canopy has a raised frame, to be painted and look like the metal frame holding the glass panels in). Then, use a set of tweezers to make sure that edge is positioned right. Next, press down against the other edges slightly with my thumb fingernail to 'find' the valley outline; and then use a toothpick to press the tape into the frame inner face, getting a good strong and clean crease. Next, using an X-Acto craft knife with fresh #11 blade, score against the raised edge several times to cut through the tape in layers. Finally, back to the tweezers, grab a corner and hold the fulcrum of the cut with the toothpick and gently peel the unusable portions of the tape off. 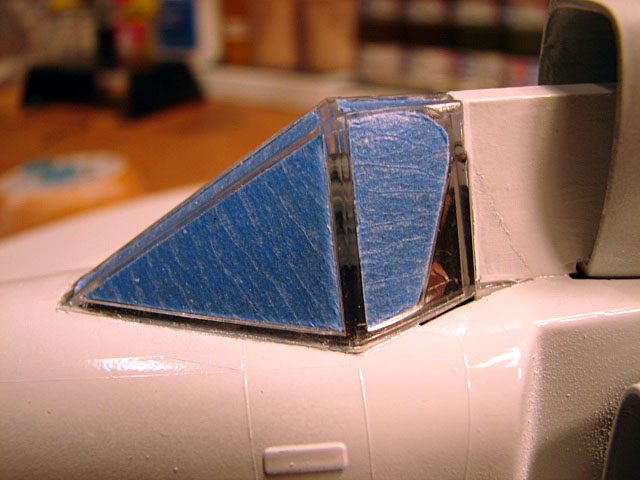  And then re-airbrushed selected areas that needed a little re-touch, and..... the canopy.  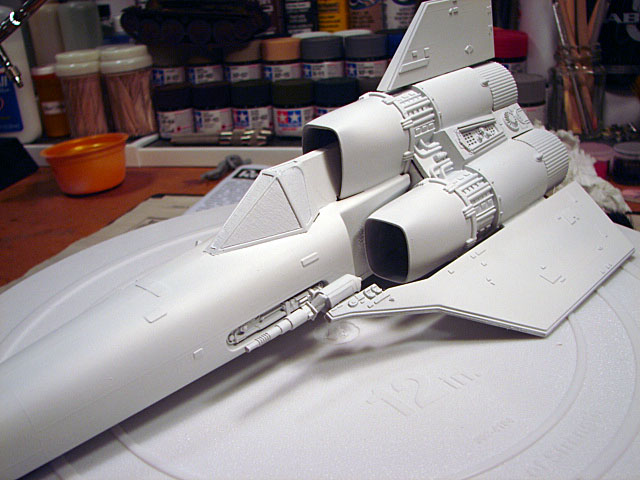
|
|
|
|
Post by Whiterook on Mar 31, 2022 21:11:18 GMT -5
Now it was time for one of my favorite products ...Future Acrylic! Unlike a lot of my modeling friends, I don't airbrush it on (maybe in the future... <--- see what I did there?). I brush it straight on my kits with a 3/4 Artist Brush, and then let it sit overnight to cure. It looks like Hell at first application, but then overnight, the weight of the floor acrylic somehow breaks the tension and settles to a smooth finish. Just brilliant stuff!!! I always use this stuff for decals, and especially when I start the weathering process. I'll lay a coat of Future either just on the areas that need the decals, and when cured, lay the decals; or I'll do the whole model and lay to cure, and they lay decals ...I just follow my gut on it, dependent on the model and number of decals to go on. Thought Process: I know one of the effects I wanted on the weathering was to chip the framework of the canopy. Then, dirty the bird up; paint the thrusters and exposed wiring/pipework; chip up the 'paint' of the decal stripes; some burn marks from energy canon hits. I wanted this Viper used and abused, an on the line Bad Bird. The thrusters need some carbon marks, and the kinetic cannons need some burn marking. Of course, hydraulic oil is a must!!! And I still needed to figure out what to do with the actual engine thrusters in back, with those clear plastic inserts. BTW...at this stage, all I could think was, how much it looks like Apollo and Starbuck's original series Vipers after meeting the Beings of Light!! WHITE! Remember how, even their Frakking uniforms turned white!??! Now she looks fairly, 'factory fresh' at the moment, but that would be changing in short order, with oil washes (my first attempt at full blown oil paint washes), details, and then some chalk pastels. As mentioned previously, I am going my own way with this Colonial Viper, and Galactica purists would probably try and shoot me with a Blaster for this. Their issue...not mine. This is a Recon Viper from the Battlestar Galactica, during the First Cylon War. It's part of Colonial Marines Fleet Patrol Squadron, Viper 3, commanded by Captain Gallant. Yup, I made myself a part of Battlestar Galactica lore!!!!! This is what she looks like factory fresh after decals applied... 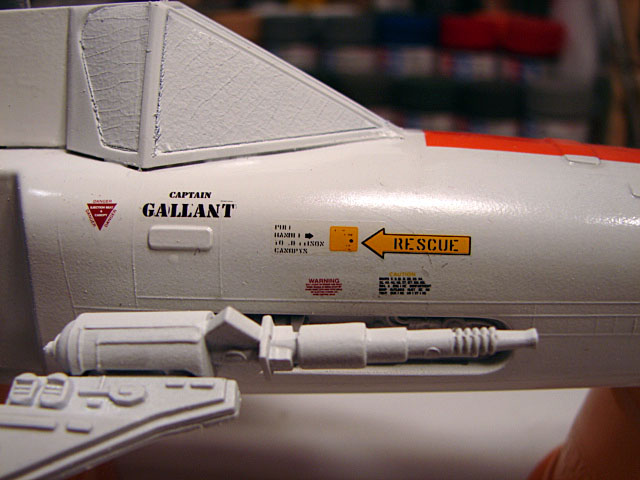  She bears the Galactica colors, and squadron/plane designation. The Pilot name and rank is below the cockpit; there's a Rescue pull handle and designation sign, along with a triangular warning sign that the Viper is ejection seat equipped, with canopy firing mechanisms....all of which that didn't come with the model kit. The main intakes have 'Danger' signs. And you can just make out caution signs above the side nose fuselage mechanics bay. The decals for the 'Captain Gallant' signs were made from the Pilot decals that came with the kit, chopped up to form my name, and the 'Captain' from Apollo's. The rest of the decals were leftovers from an RF-4B Phantom jet build. My call sign 'Bullet' is painted on the nose 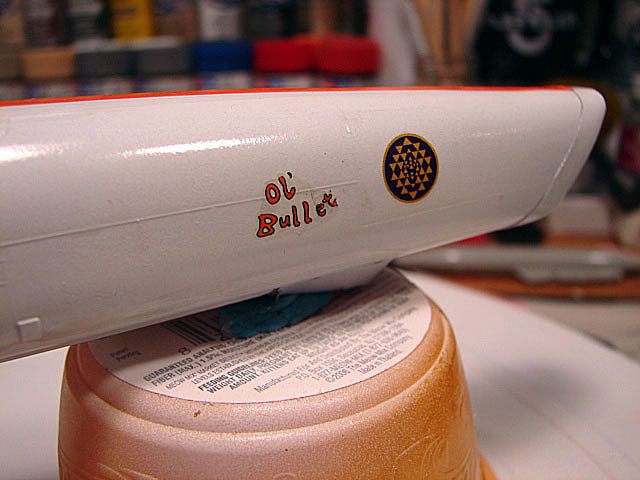 Had some silvering on the decal, but that can be taken care of mostly, in the weathering process. Next up will be the start of weathering, so hang on to your hats ...and stay tuned: Same Bat Time, Same Bat Channel!!! |
|
|
|
Post by Whiterook on Mar 31, 2022 21:16:50 GMT -5
I forgot to mention... I found some great 'No Step' warnings to add to the build... 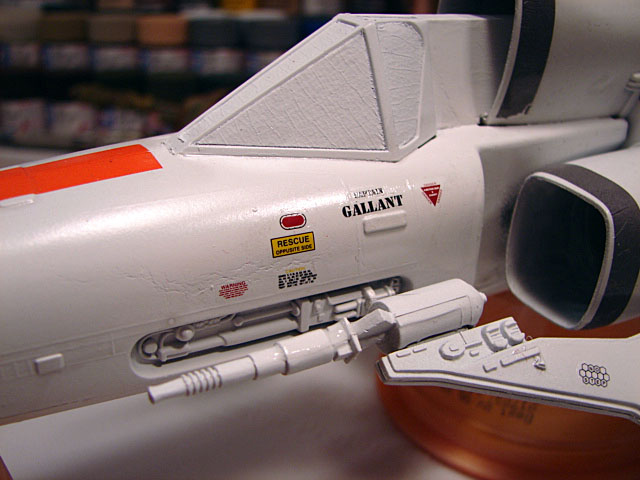 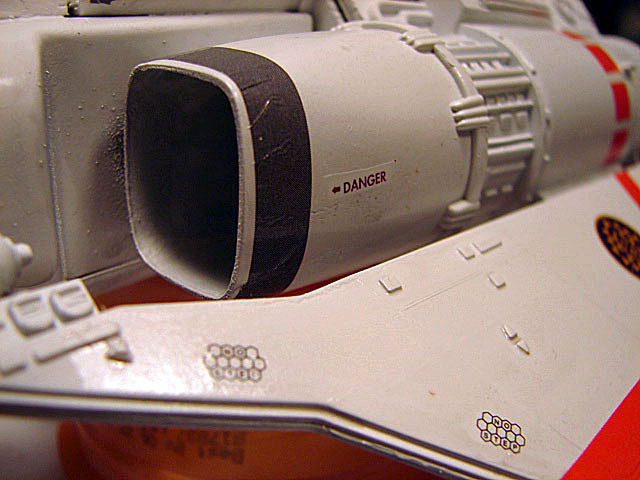 As mentioned a moment ago, weathering is the next step. All modelers face the decision: Do I want a factory fresh, without a spec of dirt look? ...or do we want that used and beaten look? On this build, the latter! |
|
|
|
Post by Whiterook on Mar 31, 2022 21:20:51 GMT -5
This is where a model really takes on a life of it's own, in my view....in what you can do to it to make it speak to you! I started with chipping. To recapture a thought on the direction I was heading, this is a Recon Viper, which is subject to a lot of abuse due to it's having to scoot and hide in asteroid fields, cosmic clutter filled with debris and nastiness, and also subject to many low-level atmospheric flights through all kinds of planetary weather conditions. What does all this mean? Well, it's going to get a lot bumps and bruises from rock dust and debris. Done with a #11 blade on my craft knife, it was a matter of some strategic placing where it made sense. Chipping is done with the point edge of a craft knife with #11 blade, and digging carefully at the decals; and some with the sharp-flat of the blade in a scraping motion. Both methods had the stroke of the blade head, moving in the direction that flying debris would have taken out the 'paint'. Another thing I used was a plain old sanding stick. By the way, this is why I really wasn't horribly concerned with the crummy fit of the thruster nacelle decals, all bunching up on me no matter how I positioned them; because I had planned on roughing up the leading edge anyway, so it all worked out in the end, in my opinion. As with all things weathering, the trick is knowing when to stop. This was new territory during this build, and I basically dared to fail, as the only way to excel is usually through pushing your comfort zone. I especially, like how the weathered wing edges came out. 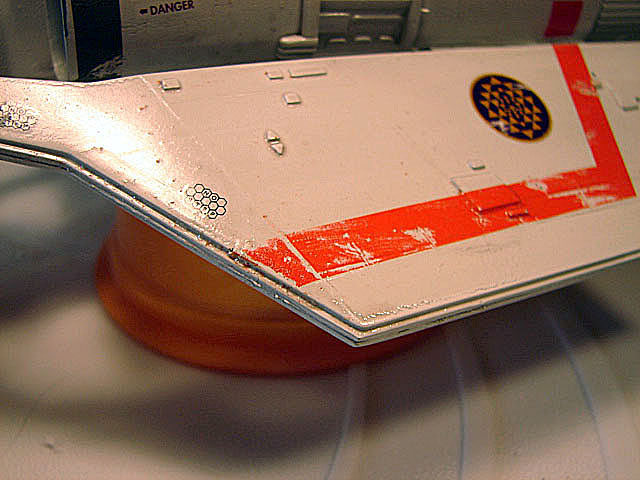 And I love the look of the top wing, which would take quite a licking. On the Nacelles, they will get a fair bit of painting chips and grime later. 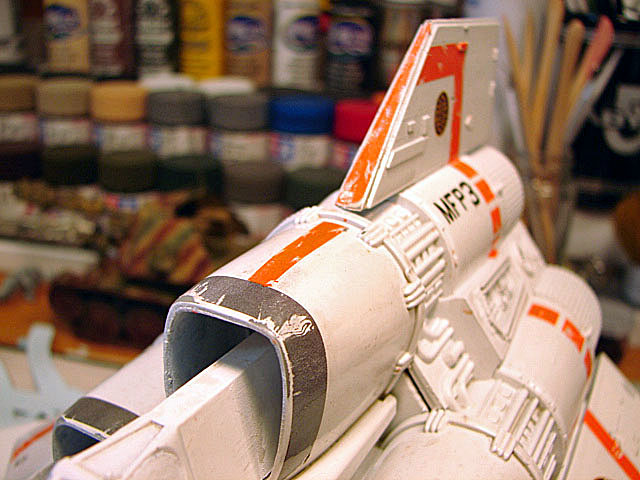 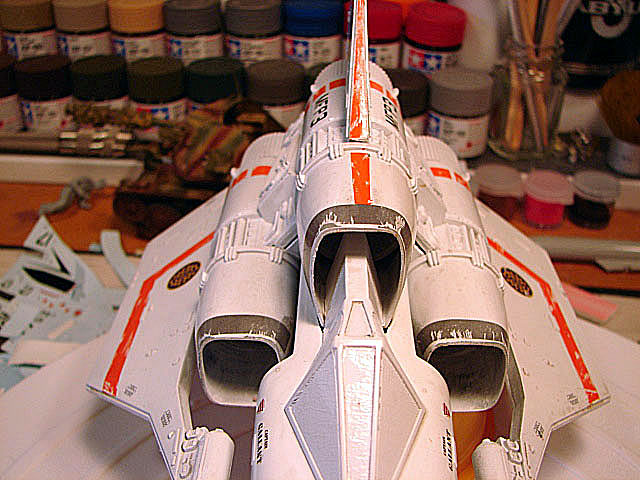 |
|


