|
|
Post by Whiterook on Mar 31, 2022 21:25:50 GMT -5
Now, on to the scary stuff....my first oil paint and turp wash. OMG!!!!!!!! The medium of choice for this round was Windsor & Newton Turpentine with Windsor & Newton Winton black oil paint, and also mixing in some Holbein Aqua Duo burnt sienna. The Aqua Duo is a water miscible oil, meaning it thins with water, but you can use it as a traditional oil, as well. 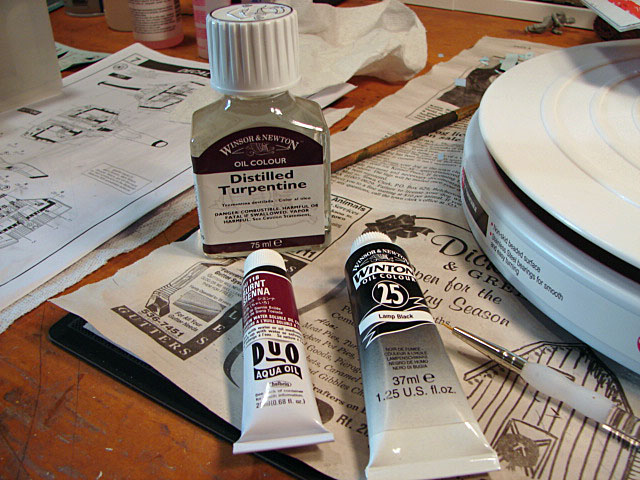 I also bought a new Royal soft-grip Golden Taklon round in 20/0 for the task... 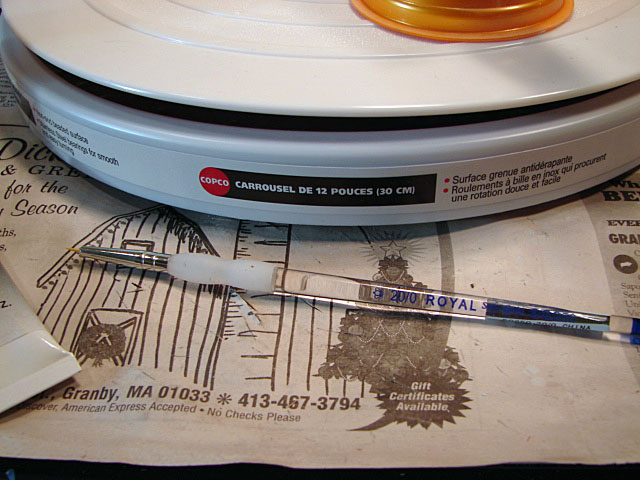 I did the standard method of placing a blob of each on a small sheet of aluminum foil, and then mixed my puddles below; grabbing the paint with the brush and letting capillary draw do its thing... 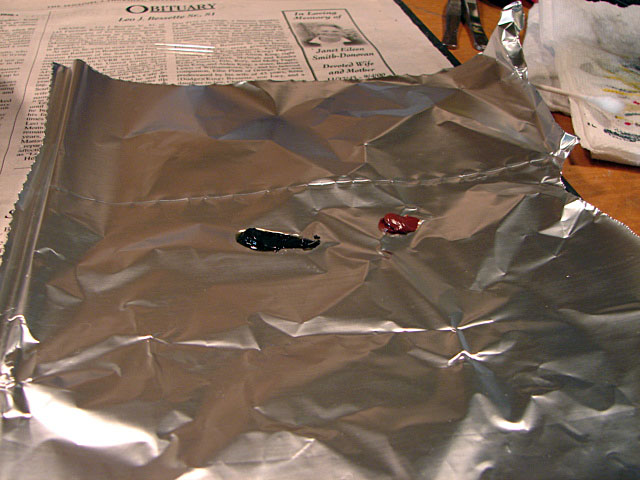 |
|
|
|
Post by Whiterook on Mar 31, 2022 21:29:16 GMT -5
And the results of my first ever oil and turp wash at that time. Keep in mind, this is just the start, but I gave it a good go (well, 'good' is subjective, of course! Hang on to your seats (and dinners)... 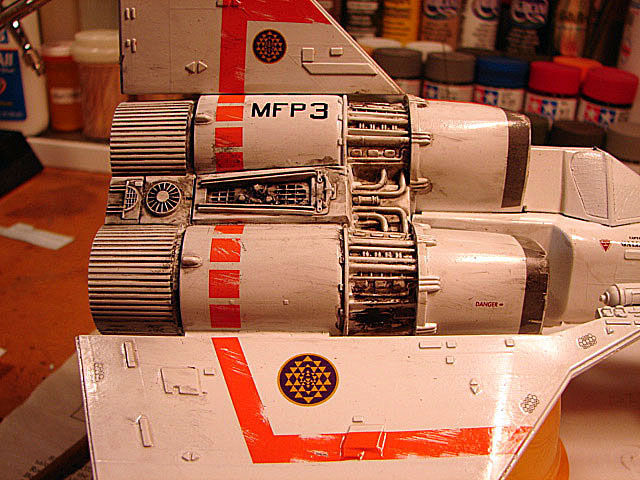 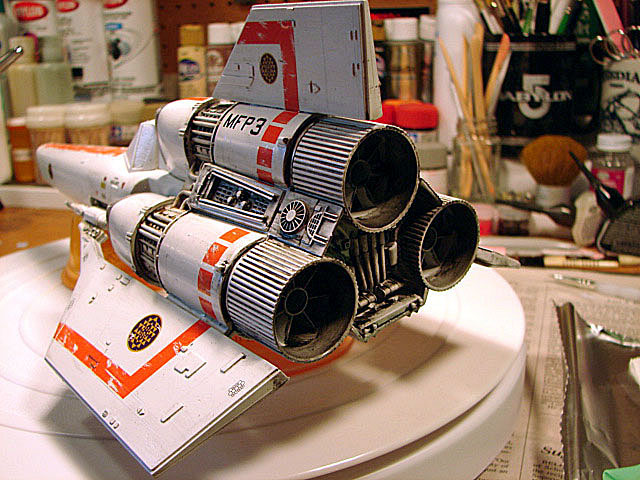 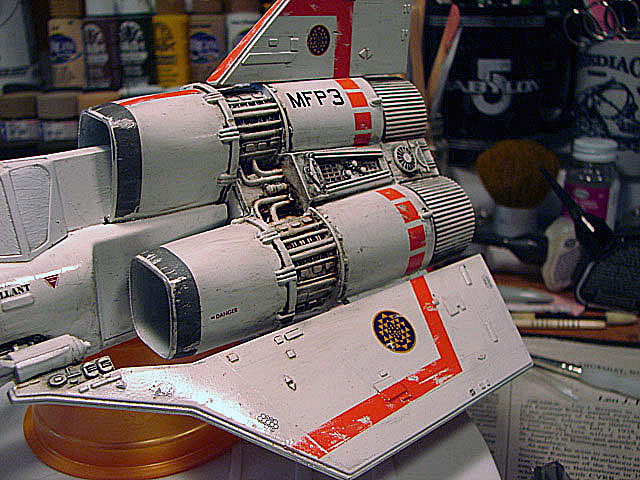 I put a small dab of the new Lamp Black Windsor & Newton paint, and a dab of the Aqua Duo burnt sienna on my palette. Then, using my brush, I made a small puddle of clear water, and grabbed some color from each dab and mixed a real wet mixture. I decided to forgo the dishsoap drop method I'd heard about, as the paint appeared to have a good enough consistency to it; and, thought it might settle in to the creases and ridges fine on it's own....which it did. I'm not saying dishsoap might mot be a bad ingredient....just not sure it's necessary. 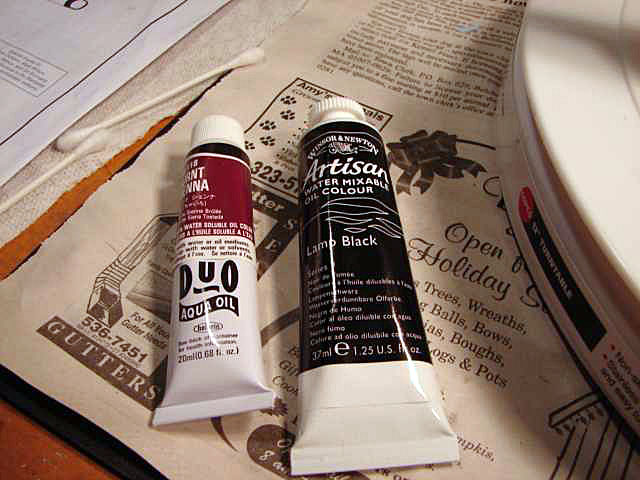 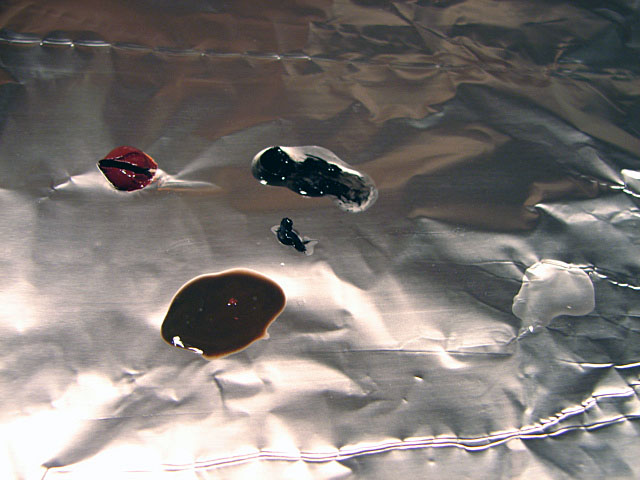 |
|
|
|
Post by Whiterook on Mar 31, 2022 21:32:41 GMT -5
What I really like about this method was, it seemed to have all the benefits that the oil paint and turpentine had, being sucked right into the edges and crevices it needed to go into; but none of the smell or toxicity. The drawback I noticed was, the turp cleaned up off the surface a little easier in the first method. I would dip the 20/0 brush, tip only, into the puddle and then take my time touching against edges and recesses....the extremely watered down paint mixture wicking in with capillary action to where it needed to go. The over-coverage on surfaces cleaned up fairly easily with cotton swabs and a small ball of paper towel. The cotton swab and paper towel also helped to do some staining quite nicely. I even used my rubber-gloved finger to good use in dabbing and coaxing the paint to where it needed to go. And the results! First up, the starboard side... 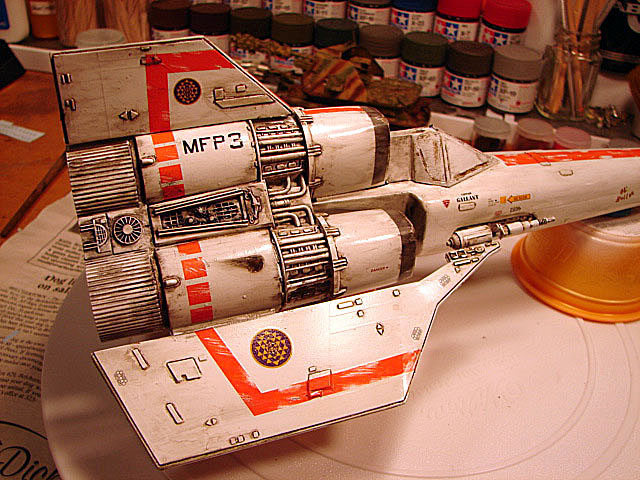 Now don't get too excited over he laser blast, as it will be fussed with a little more coming up. This was the first tome I tried this look, but it is less than stellar (pun intended). At this stage of the build, it was still a work in progress! Some of the raised edges, on the wings for example, still needed to be toned down a tad; but what I love is the dirty-muck look on the exposed engine components on the nacelles... 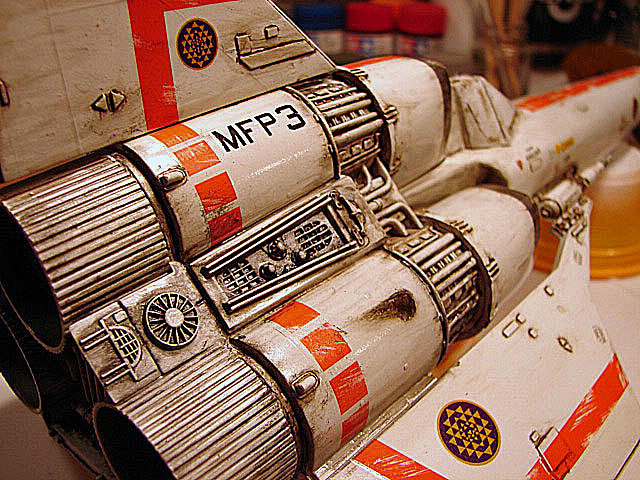 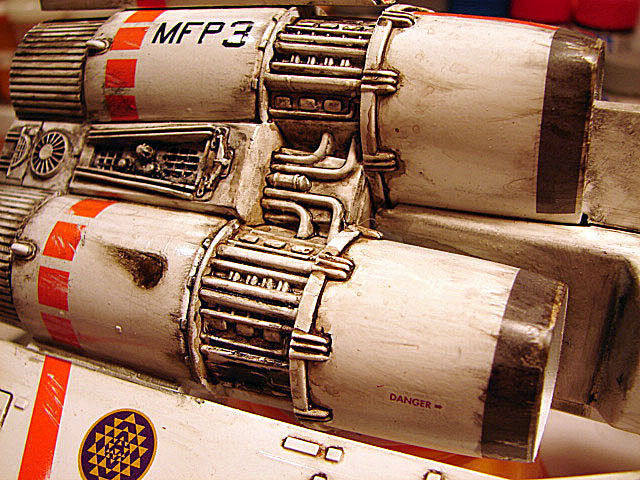 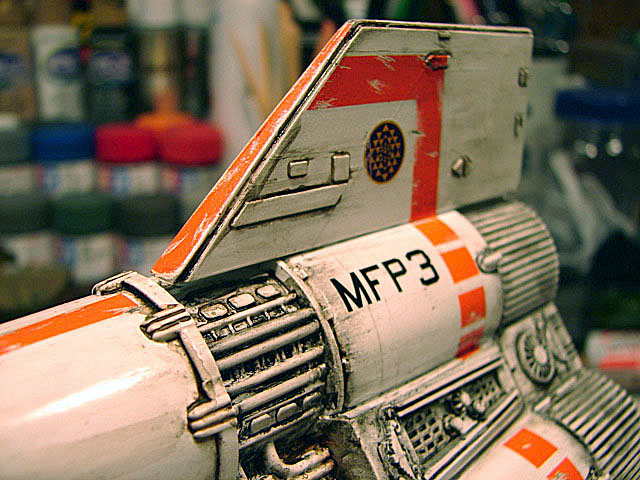  |
|
|
|
Post by Whiterook on Apr 1, 2022 17:03:00 GMT -5
So, this seems to be the method of choice for me at that time ten years ago, and still, at my current skill level. I have a chalk wash technique which would have worked well also, but in a different way. I liked where the weathering led, and it gave the appropriate look at what I had envisioned in my mind's eye for a service-heavy-use Viper that's been through a lot of extended atmospheric and asteroid debris cloud conditions, through nasty elements. But this wouldn't be where this story ended. I still had some ideas tumbling about in my noodle to make the bird a little more realistic ...retro thrusters!!! More on that in a minute! Stay tuned! A few more shots I'd taken to this point... 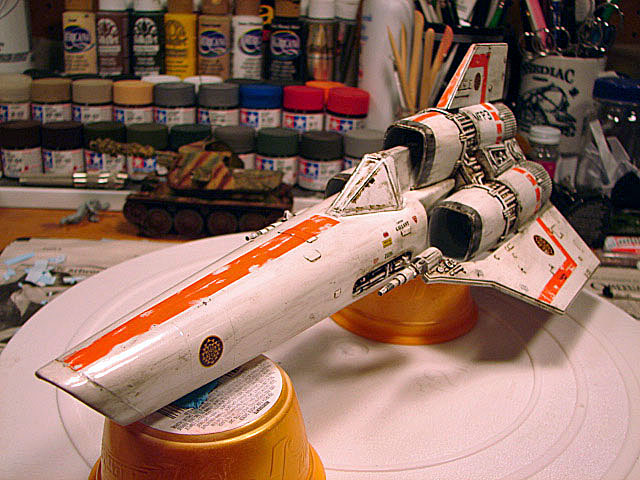 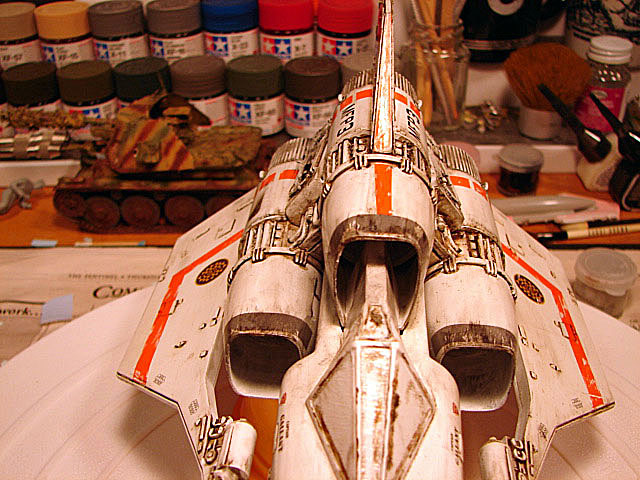 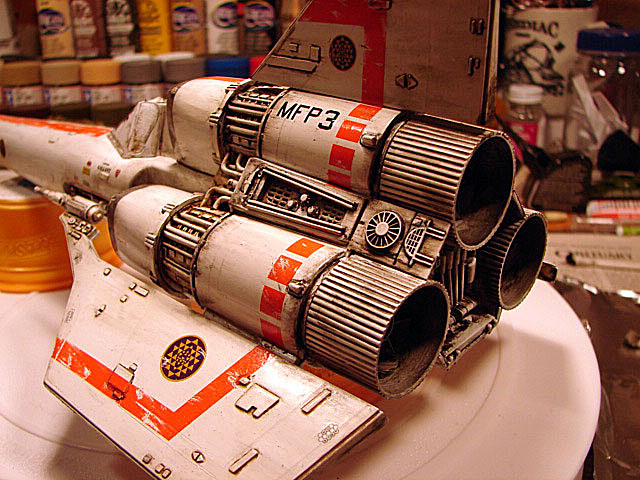 We are now nearing the end in this build. I mainly did the bottom of the Viper, weathering it much as the top. I didn't snap any pics of her belly at the time...sorry. I also touched up some of the top and sides, as well. But one of the big things I worked on was the nose. I painted the nose cone exterior a dark gray, and then a coat of lighter gray on top; followed by some chipping. Then some 'dirt' washed inside the nose cone. All done in Folk Art acrylic. Next came the fun part...out came the old pin vice and on went the Retro-thrusters! I drilled so that I broke the surface, but not drilled all the way through. Next, applying some oil paint dark brown almost to black, and then pulled for some streaking effect. 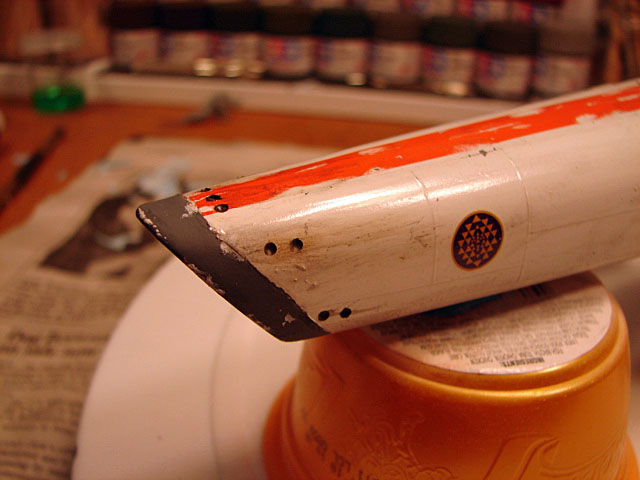 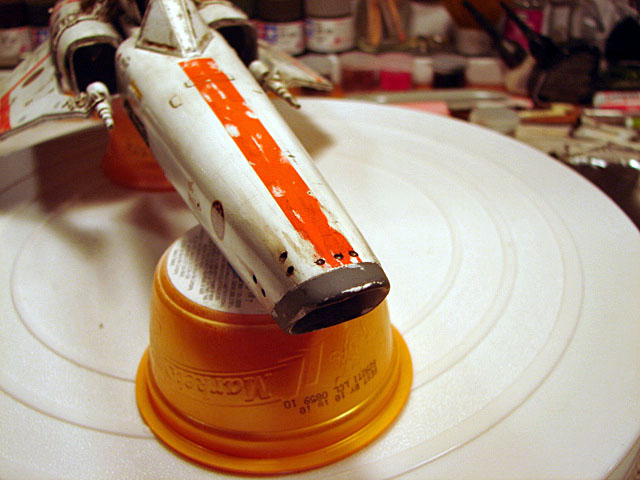 Next came the Reto-thrusters to the port and starboard engines.....and also notice the laser blast was finished up, reducing the size and enhancing the shape. 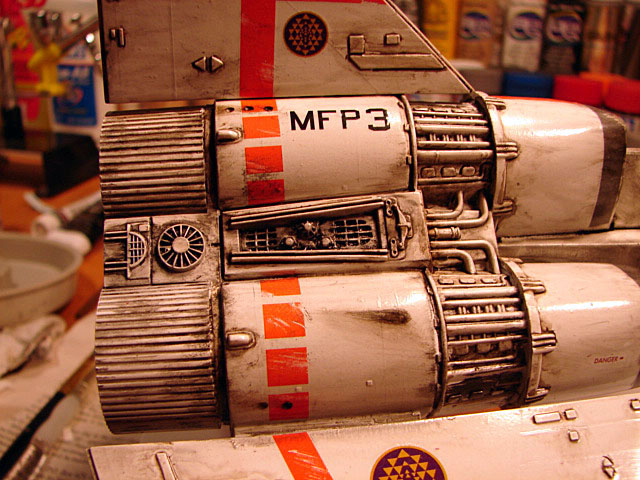 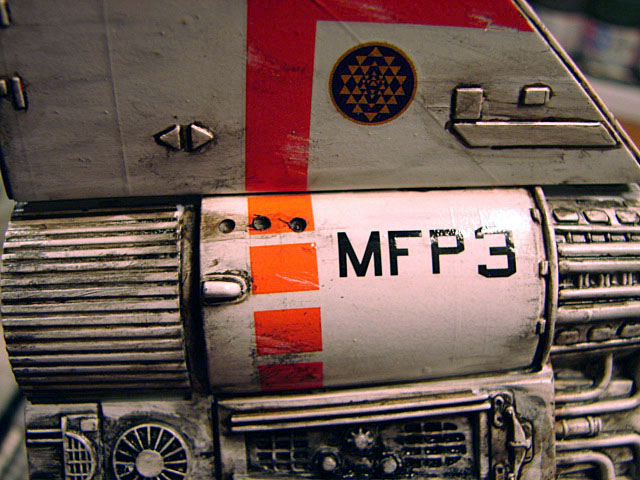 Near the bottom wing... 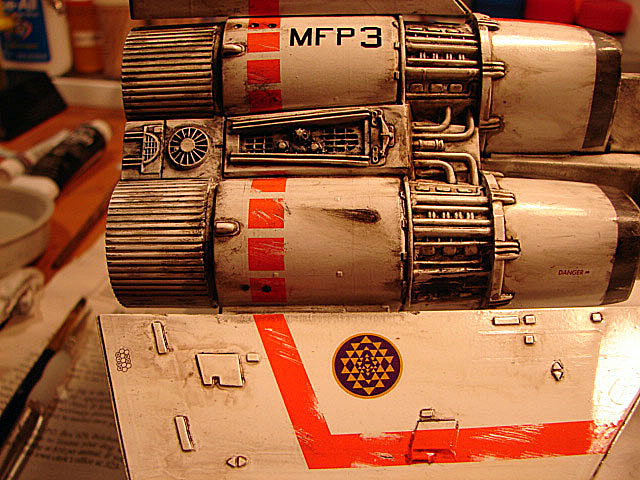 |
|
|
|
Post by Whiterook on Apr 1, 2022 17:08:17 GMT -5
|
|
|
|
Post by Whiterook on Apr 1, 2022 17:19:35 GMT -5
And finally, the point at which some of you have been waiting to see (including me at this stage!!!)....off with the canopy masks!!! But first, some reasoning behind some of the method to my madness: The early version Vipers as seen in the re-imagined series (I think these were the museum Vipers originally on display in one of the fligght pods (as part of the transition of the soon-to-be decommissioned Galactica to a museum), and particularly in "The Plan", as well as the last year of the show... these were pretty glossy; yet the original series seemed to be more satin finish looking. I chose a combination in the end. I really didn't like the look of the gloss, and especially where there is some heavy weathering on it. I sprayed a dullcoat on her....and....well....didn't like that either. So I brushed on a light gloss to areas and left others satin. I tried to go with the fact that aging would turn some areas satin, but in my view, not all. Ok, back to the build. This is the Recon Viper in all her glory, pre-Finished pictures... 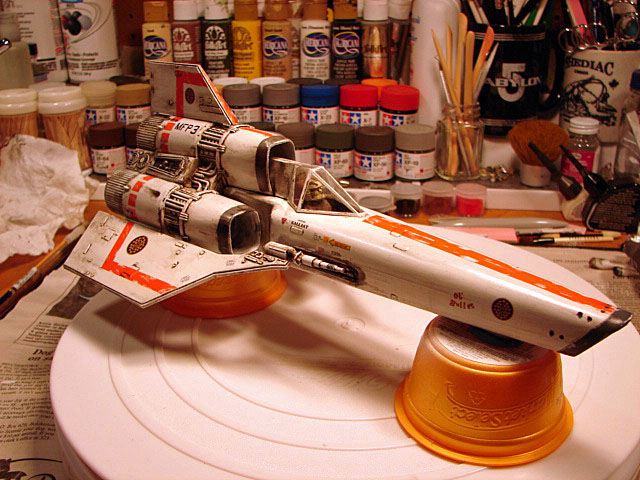 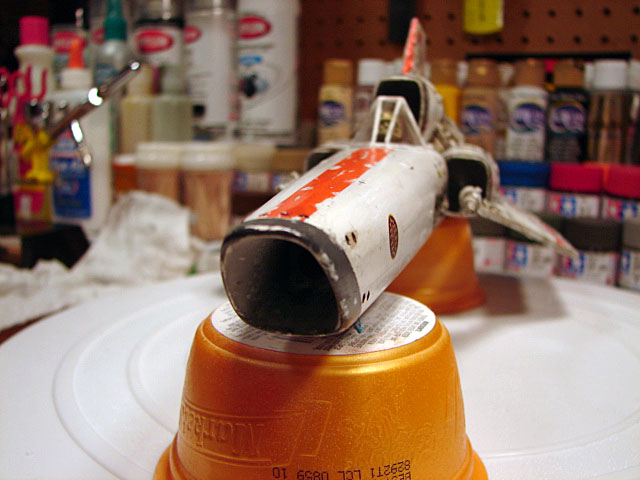 The canopy came out very good, compared to previous efforts of mine on other models. This was the first time (I believe) that I used masks so extensively and successfully. Note that I have used real airbrushing masking material (the clear stuff, and very high end), but in the end, I guess I'm just into simple methods, and the painter's tape worked a peach! And what a difference airbrushing the 'metal' fame of canopies makes!!! 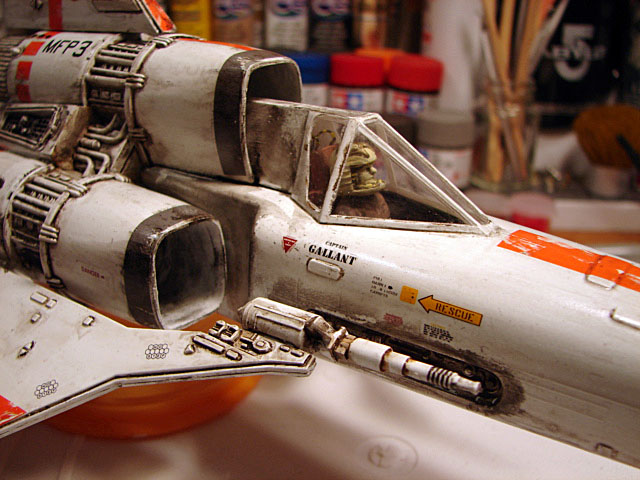 ...I tried to chip it lightly, and not go overboard. I also placed washes under the canopy to bring some depth and enhance the separation between canopy and fuselage. I also tried to indicate the chipping in the direction that space born particulate debris would have been sucked into the upper scoop; as well as the dirt and dustiness on the back canopy. 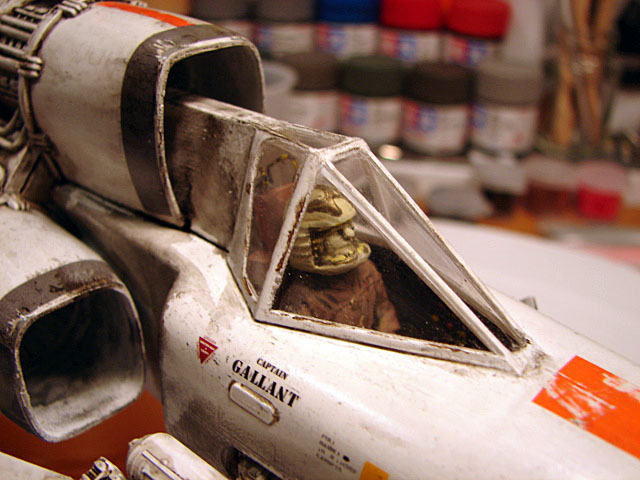 (Damn...even I have to admit that's beautiful, ROFLOL!!!!) The back edge of the fuselage would have had a bit of a dead-space whirlwind effect I believe, so I made it grimy. All in interpretation, I guess.) Personally, and all kidding aside, I really did like the way it came out. And also, it was really nice to finally see the Pilot again!     |
|
|
|
Post by Whiterook on Apr 1, 2022 17:29:50 GMT -5
Well folks, we're wrapping up build part of the Colonial Recon Viper! Up next was the base....and actually, it's a pretty solid base that is included with the kit. I assembled it and let set. There was nothing to really photograph in progress, as it was a pretty straightforward four pieces glued together. And of course, sanded down all the flash, mold lines and pin marks. The excitement though, was in the airbrushing! I found the magic mixture of Tamiya Acrylic to 91% Isopropyl; and decreased my psi down to 20 psi (I had the foolish thing on 40 psi!!!) ...magic! Sprayed on with control and ease not hitherto experienced, my friends ....AWESOME! Felt like I actually knew what the hell I was doing! 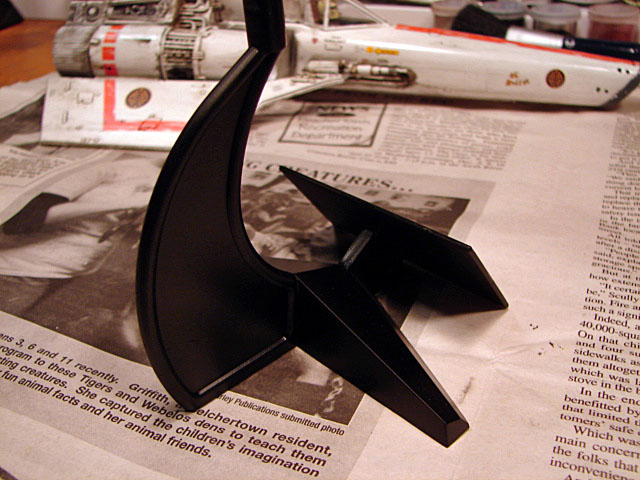 I always felt like I was rushing with the side-to-side swiping coats, and turns out it's because I was! The pressure was so frakkin' high that I had to haul a$$ or experience the dreaded runs (no, not that kind!). This was much more ease and please, so to speak. Used Tamiya Semi-gloss black. Next, some Future floor polish brushed on with a wide artist brush, on the name plate for a high gloss. 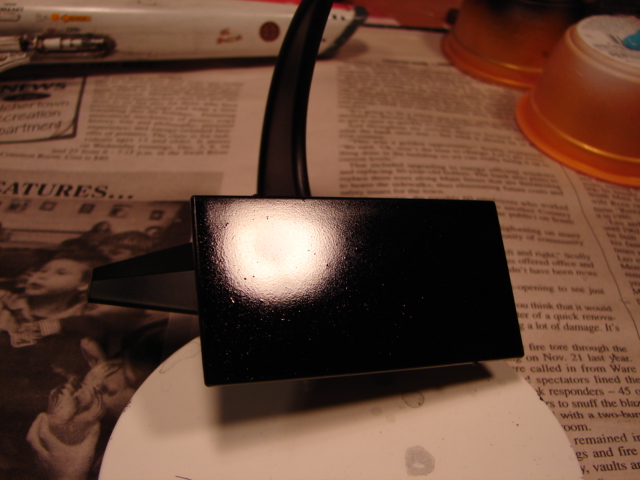 And then the decal...  And yup...my famous cat food cups ...a modeler's best friend! A final coat of Future went over the decal to seal it in and give it a good protective coat. The trick with the Future is to do only a single swipe of the art brush; two at most...and wet. Allowed to dry overnight, the Future floor acrylic coat levels all the brush lines... 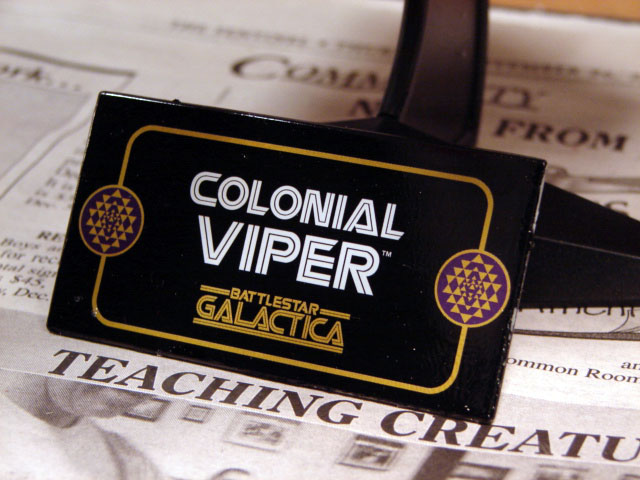 The base stand pops into the undercarriage of the Viper, and you can theoretically gimal the Viper to pose in different directions? I really don't know...it's a good friction fitting with a solid hold. 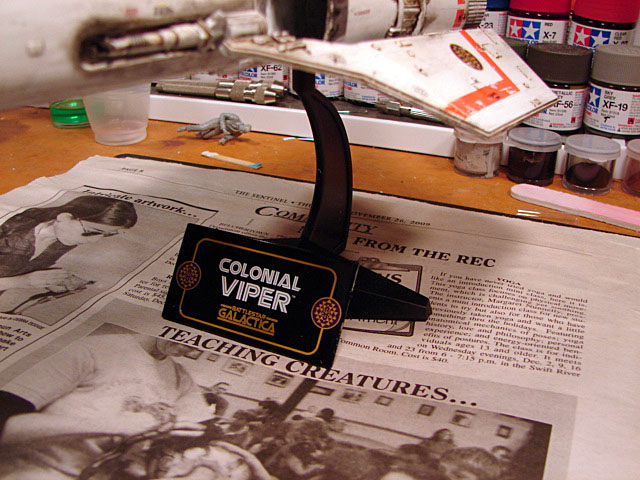 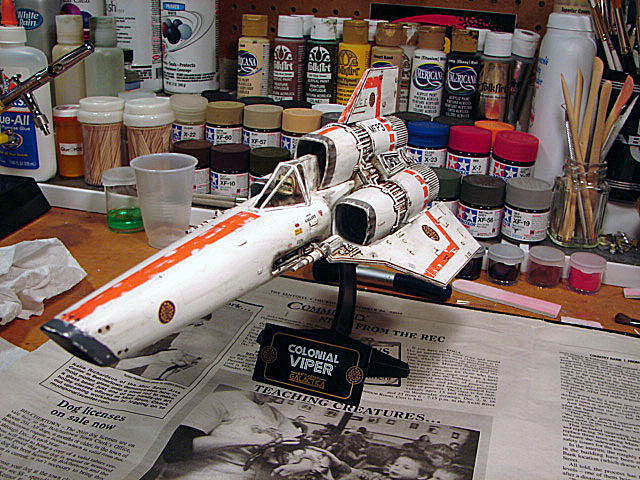 And of course, the Recon camera!   Conclusion on the building process: This was much more fun to build than I anticipated. What really got me was, the freedom to roll with it; to not be bound by trying to capture exact details, exact camo colors, etc. It could morph and become anything I wanted it to become. That energized my inspiration and turbocharged my experimentation and creativity. Everyone should step WAY out of the box every now and then; I am a firm believer in that now! I hope you enjoyed the ride as much as I did building her! And thanks for bearing with so many pics and posts in such a short time frame. |
|
|
|
Post by Whiterook on Apr 1, 2022 17:34:17 GMT -5
|
|