Post by Whiterook on Apr 4, 2022 10:34:16 GMT -5

This is a platoon build of five WWII German Panzer IV F's, from March 2009. It was the second 15mm miniatures build project I'd done. A Flames of War platoon box, it came with solid resin hulls and metal accessories. The decals came separate from the box set, in a decals sheet bought to outfit several boxed sets over time. The turrets are loose, and I had still not learned about using rare earth magnets to secure them in place yet, but may do so in the future (alternatively, a little BluTac works nicely for that purpose).
Assembly
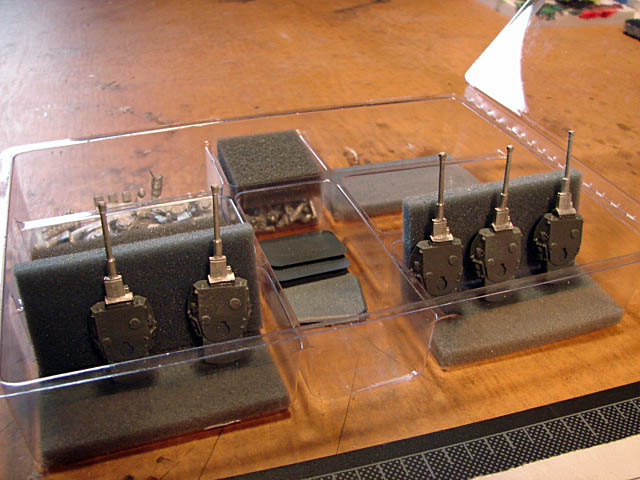
The barrels of the main guns were trickier to mount than the American Shermas were, probably because of the narrower mantlet to narrower hull front armor. Using gel CA glue, which holds the loose parts better while drying, still needed a little assist in the form of gravity! Propping them up in the parts container that came with the box, further held in place with the shipping foam did the deed nicely and the assembly was left to cure for several hours.

The bottom hull came with a large, raised rectangular nub that I didn't like (part of the molding process I am sure. but not realistic to me), si I filed it off (yes, I know...resin...I was careful!).

Here are a couple of shots with the main gnus (minus one tank, so you can see the attachment area of the barrel) and treads glued on. The treads go on surprisingly well, I'd come to find out. Basically, using gel CA glue, you need to pinch with your fingers like a vice, holding the metal treads to the resin tank body with firm pressure for several minutes... that's long enough for the CA glue to grab and hold, after which you can set the tank down to cure for several hours for a secure bond.


Next up were the accessories...


And the Intrepid tank commander...


