Post by Whiterook on Feb 17, 2023 9:20:43 GMT -5


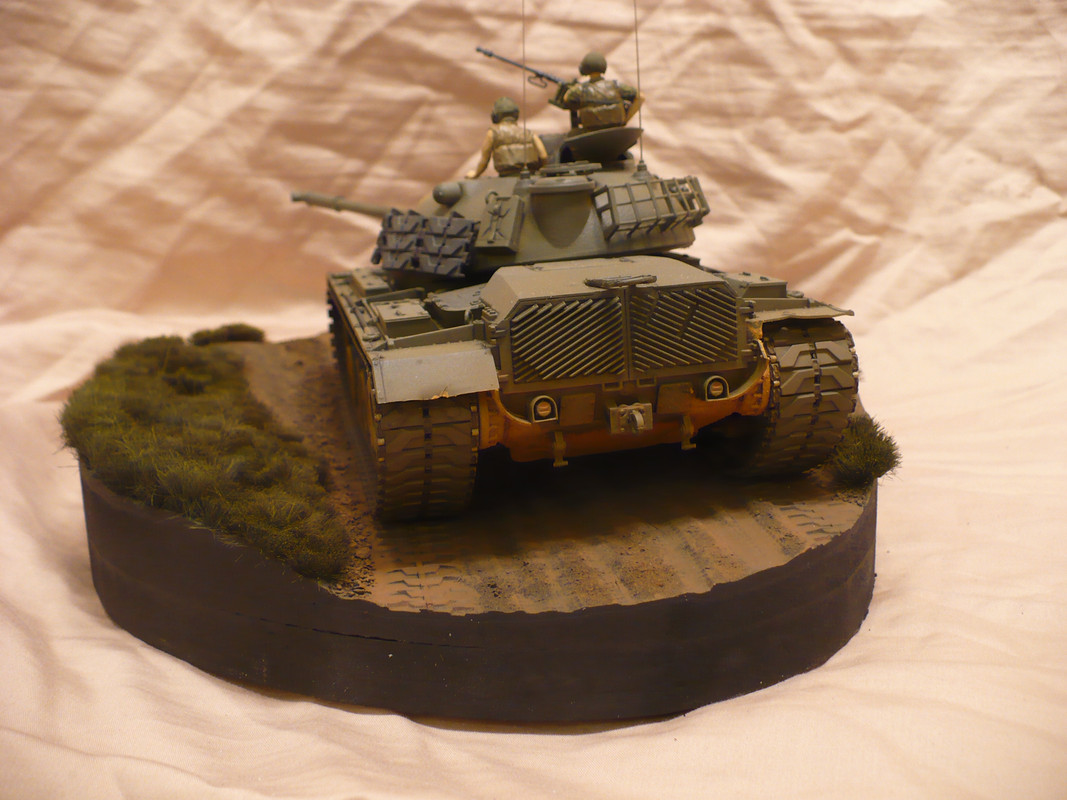
This is one of the better methods I ran across recently, from a modeler over at Modelers Social Club (a handle: reserve). I love these kind of Build AARs, where it’s clear what products were used, what psi the airbrush was ripen at, and step-by-step instructions. So many great tips, like the use of Tamiya Paint Retarder to keep your AB needle clean! These are the kind of methods (even bits of it) that are amazing resources to vet against your methods and experience, and maybe, just maybe, earn a spot in your Bag ‘o Tricks.
I primed the assembled model with Tammy fine grey lacquer from a rattlecan and allowed it to dry. Once dry I sprayed it with Tammy SF-62 thinned 40-50% with perhaps 20% Tammy acrylic paint retarder at around 20 psi until I had solid coverage. The retarder is important as it keeps the paint from drying on the airbrush needle. I then mixed more OD with some flat yellow (all Tammy XF) until I got a noticeably lighter shade, thinned it up to 40% paint and 60% thinner and boosted air pressure up to 30 psi as this atomizes the mixture better. I gave it thin, light passes while moving the airbrush fairly quickly from directly above until I got the desired subtle fading effect on the upper surfaces. Once this was dry I sealed the model with Model Masters clear gloss acrylic until it was good and ugly shiny. Once this was dry the decals went on and then I pinwashed the model with MIG enamel Dark Wash. Model Masters clear acrylic flat was applied after the pinwash was dry. When this dried I took some AK acrylic ground texture paste and laid it on the lower hull, suspension, and roadwheels in the places where mud would collect, painting the mixture when it had dried. I used Vallejo Flat Earth acrylic for the mud and dust as it has a reddish quality to it. Dust was heavily thinned Vallejo Flat Earth thinned to 20% paint and 80% thinner (water) with the airbrush at 40 psi once again for superior atomization of the mixture. I kept the airbrush at least six inches from the model at this point and kept making light passes with emphasis on the lower surfaces until desired opacity was achieved. When doing this step you'll want to spray until the surface begins to appear wet then stop, allow it to dry up some and see what it looks like.
