Post by Whiterook on Mar 29, 2022 9:33:14 GMT -5
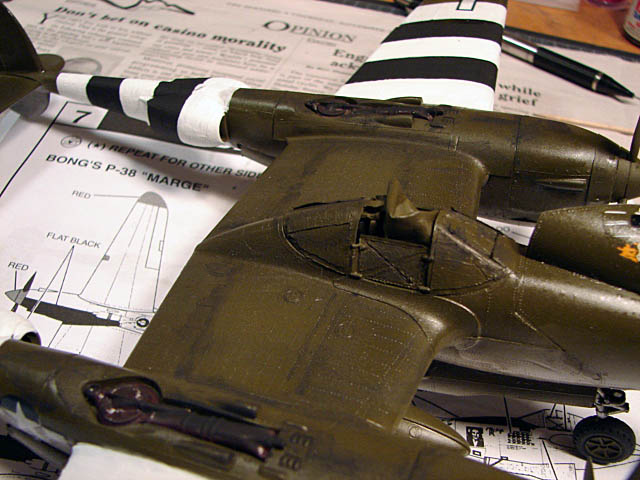
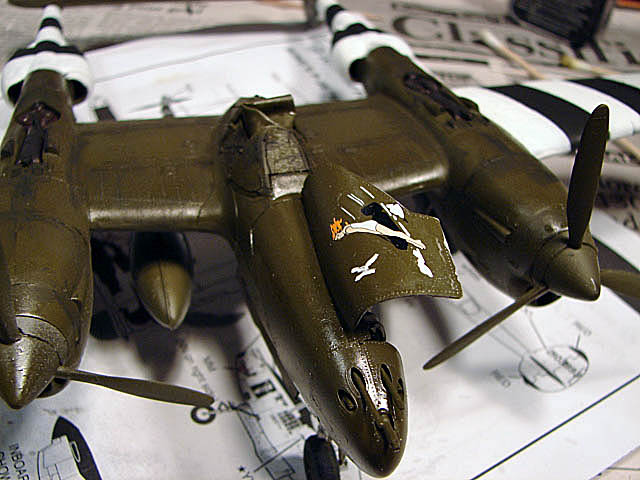
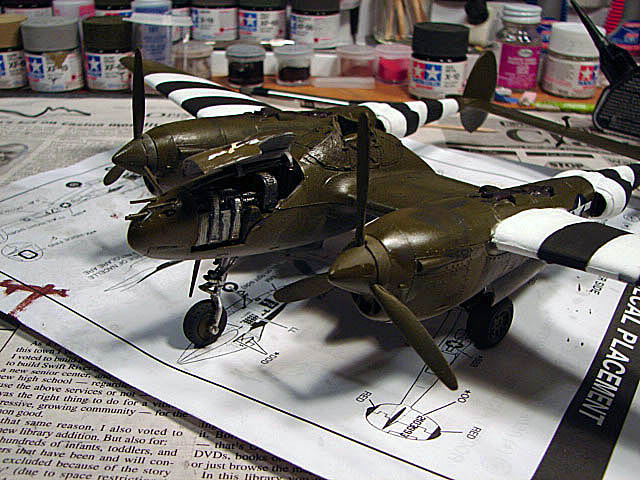
I started this build back in August of 2010, from a Revell kit I bought at Michael’s craft store for a song...the WWII P-38J Lightning.....
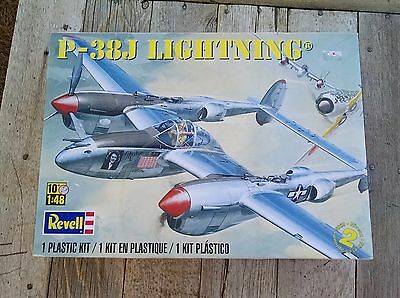
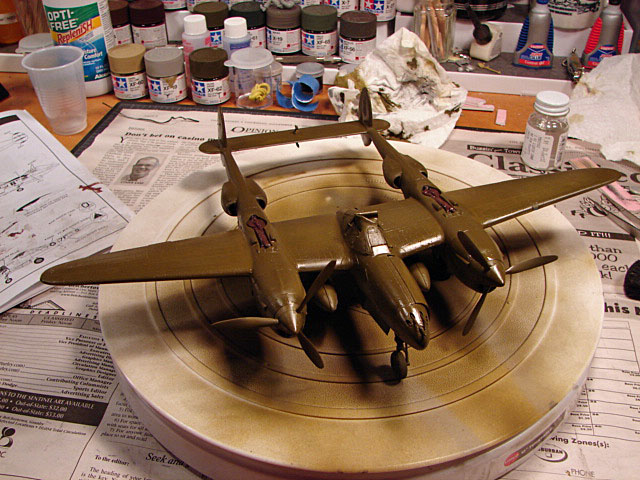
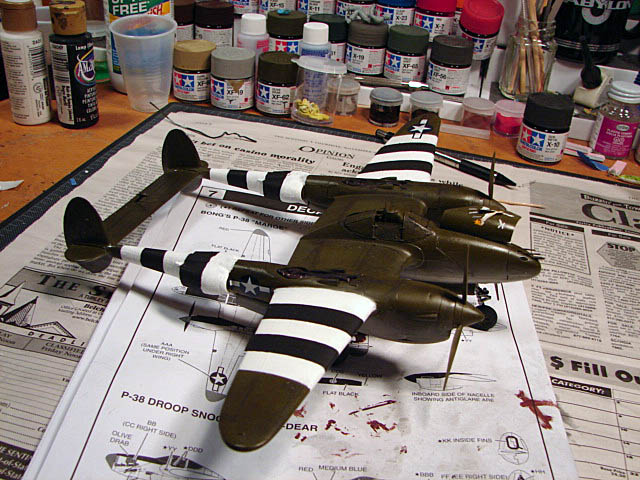
I’ve always had a fascination with the P-38, with it’s unusual design and lightening speed. This 1/48 in scale and was a fairly straightforward kit, and I decided to paint it in green with Normandy Invasion Stripes. This was still in my infancy upon reentry into the hobby, so the paint work was partly hand brushed with craft acrylic paints, but it also saw my introduction to the world of airbrushing! I’d picked up a Badger single action at first, but quickly discovered the limits of a single action and picked up an Iwata ‘Eclipse’ dual action, which is a joy to use!
This is the reference photo I was inspired by.....

The parts are a soft plastic...softest plastic I'd ever seen on a kit to that date. It was numbered horribly, and had parts scattered on semi-solid sprues; some parts numbered on one side the the tree, others on the opposite...what a mess! I can’t complain much though, as I’d picked up the kit with a Michael’s craft store 40%-off coupon, for a final price of $12!
So on with the show! I’m afraid I’ve lost the build pics for the following in this post, so it’s just in narrative…
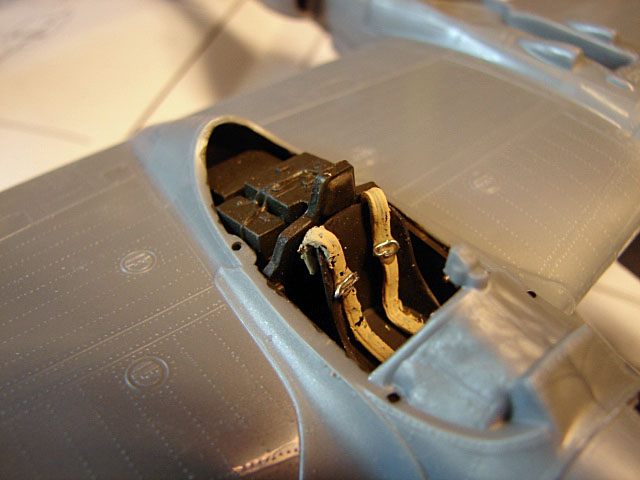
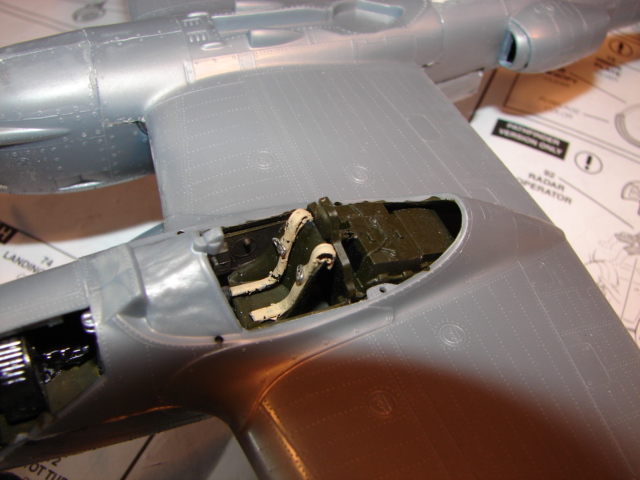
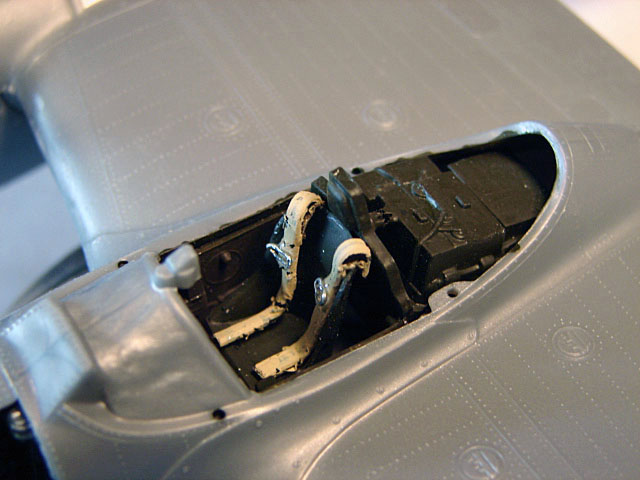
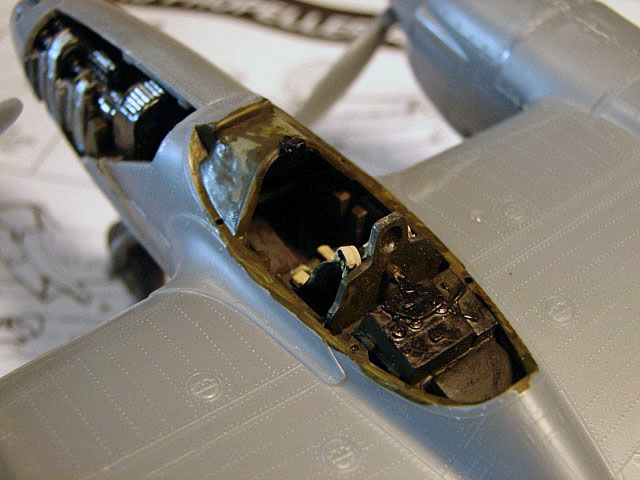
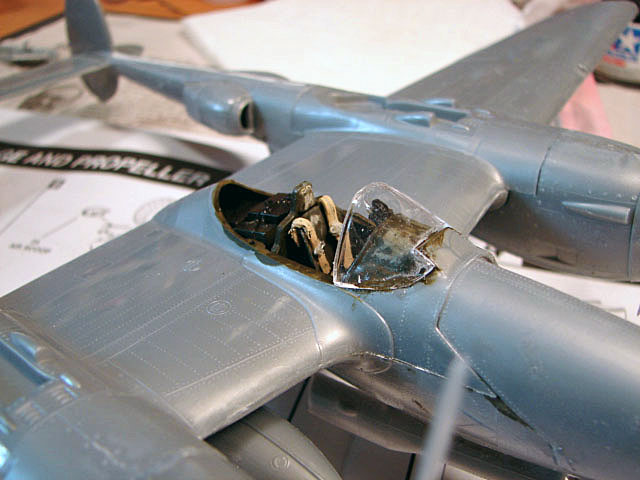
In the cockpit, with some minor assembly of the seat and steering column, I pre-painting of interior surfaces (including the side walls of the cockpit) Interior Green. The cockpit floor has Interior Green; the seat and backplate have Olive Drab; and the steering column was yet to be painted, a pre-base of glossy black. Also to be added was some light gray and aluminum detail painting, and a touch of weathering. I finished assembly of the cockpit, adding in the aluminum foot rests, sides, back, and had to scratchbuild a new control panel, as I'd somehow lost the one that came with the kit! Also in went the radio assembly on the back.
Next up came the rear gun wall. What annoyed me about this kit were the absolutely HORRIBLE instructions! Placement of most parts is a guess, as best....but common sense was my co-pilot! I then cleaned up the wing halves, and finish painted the interior.
Then, I finished painting the cockpit itself, as well as the rear gunwall, which got a duel color of silver and green; finally inserted the whole assembly into the top wing half. Lastly, and undercarriage gun mount/gun wall were done.
On the wing halves went together: I gotta tell you folks, the discovery of using Testor's Liquid Glue by that point of my model building adventures (bottle water like glue with the brush in the lid) had made a hell of difference in my modeling; and I keep it in my arsenal, the old standby ModelMaster's liquid glue in the diamond shape bottle with the long metal pipette on the end, which to this day is my first choice to go to. Between the two, I can do anything I need to do.
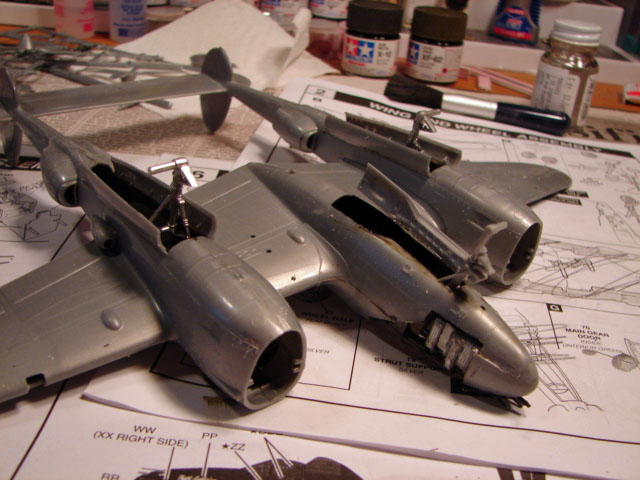
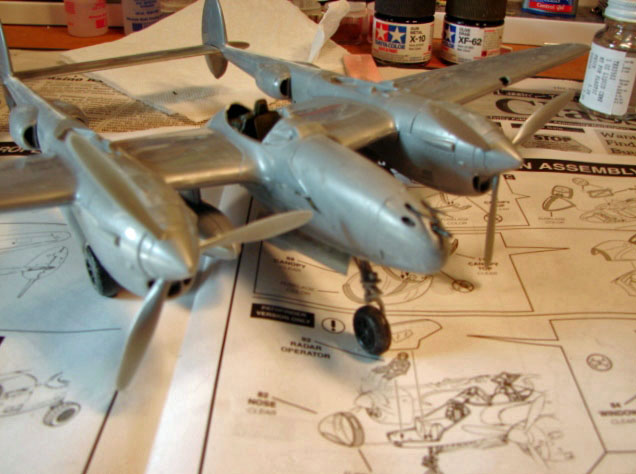
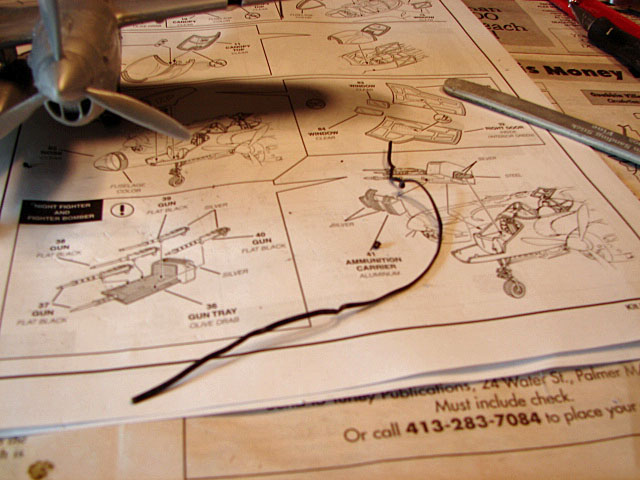
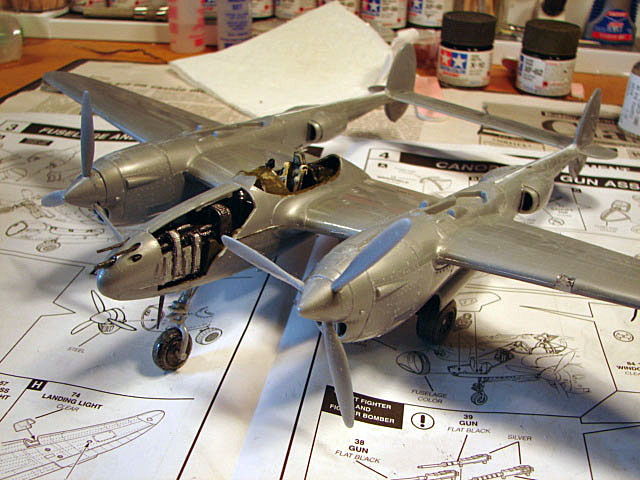
Next came the landing gear. I had to use some Squadron Putty on what I took to be two model pin holes....errrrrr, that's what you get for not looking further ahead in the manual! They actually were positioning holes for the landing gear support which go on later, so of course, I had to dig out that putty! And all that AFTER I painted the darned things!!! On the pic of the instruction manual, you notice a Radio Operator....that's for the optional Night Flyer version of this bird, which I did NOT build; and actually, I didn't including the Pilot either, as the molding on it are the worst I've ever seen...worse that the Gorilla in my old Bedford QL Gun Portee!
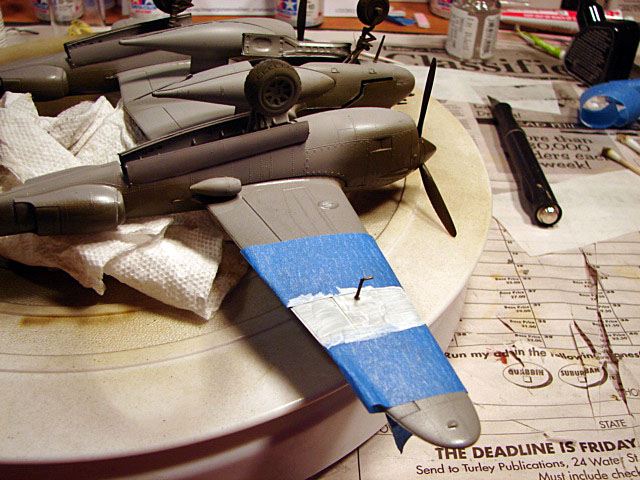
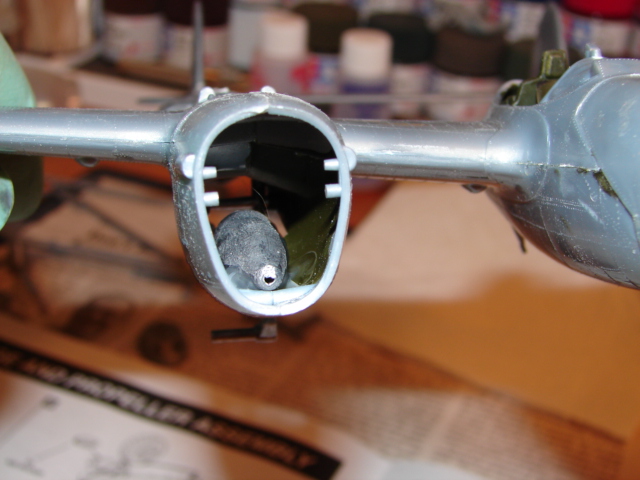
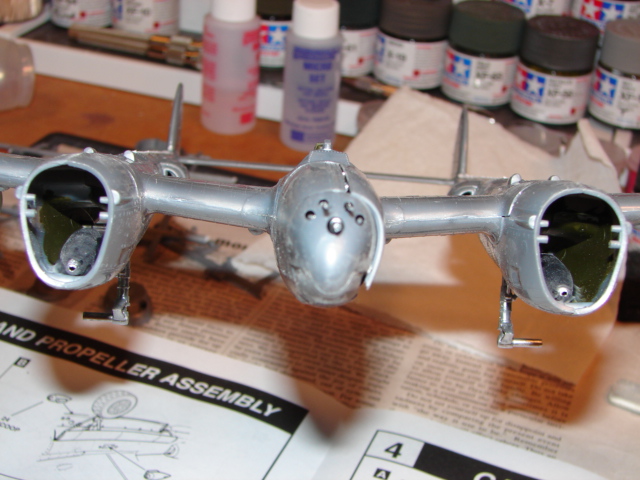
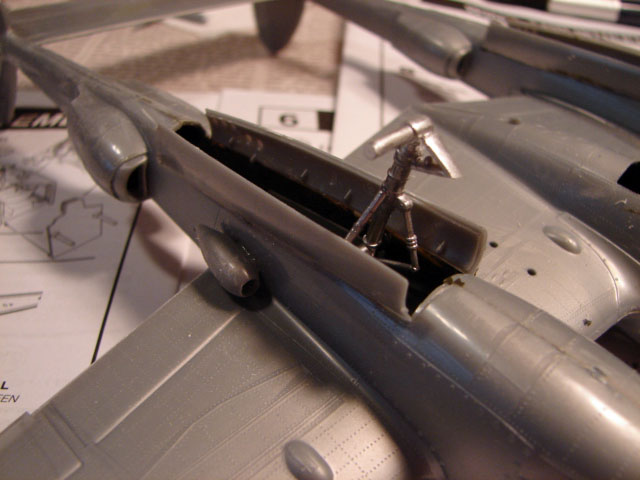
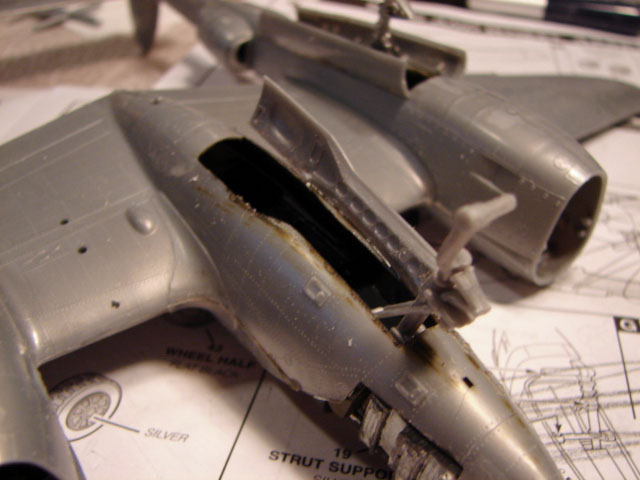
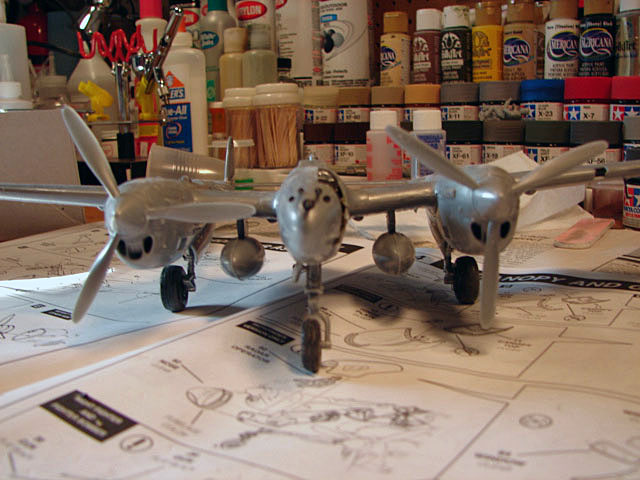
Landing gear painted silver, with Folk Art Acrylic's "Anniversary Silver". Inside landing gear bays painted Interior Green, with Tamiya Acrylics. These would get some color correction during weathering. Then the dual fuselage nacelles were glued together, first putting the landing gear in place...tricky handling needed.

I’ve always had a fascination with the P-38, with it’s unusual design and lightening speed. This 1/48 in scale and was a fairly straightforward kit, and I decided to paint it in green with Normandy Invasion Stripes. This was still in my infancy upon reentry into the hobby, so the paint work was partly hand brushed with craft acrylic paints, but it also saw my introduction to the world of airbrushing! I’d picked up a Badger single action at first, but quickly discovered the limits of a single action and picked up an Iwata ‘Eclipse’ dual action, which is a joy to use!
This is the reference photo I was inspired by.....

The parts are a soft plastic...softest plastic I'd ever seen on a kit to that date. It was numbered horribly, and had parts scattered on semi-solid sprues; some parts numbered on one side the the tree, others on the opposite...what a mess! I can’t complain much though, as I’d picked up the kit with a Michael’s craft store 40%-off coupon, for a final price of $12!
So on with the show! I’m afraid I’ve lost the build pics for the following in this post, so it’s just in narrative…
In the cockpit, with some minor assembly of the seat and steering column, I pre-painting of interior surfaces (including the side walls of the cockpit) Interior Green. The cockpit floor has Interior Green; the seat and backplate have Olive Drab; and the steering column was yet to be painted, a pre-base of glossy black. Also to be added was some light gray and aluminum detail painting, and a touch of weathering. I finished assembly of the cockpit, adding in the aluminum foot rests, sides, back, and had to scratchbuild a new control panel, as I'd somehow lost the one that came with the kit! Also in went the radio assembly on the back.
Next up came the rear gun wall. What annoyed me about this kit were the absolutely HORRIBLE instructions! Placement of most parts is a guess, as best....but common sense was my co-pilot! I then cleaned up the wing halves, and finish painted the interior.
Then, I finished painting the cockpit itself, as well as the rear gunwall, which got a duel color of silver and green; finally inserted the whole assembly into the top wing half. Lastly, and undercarriage gun mount/gun wall were done.
On the wing halves went together: I gotta tell you folks, the discovery of using Testor's Liquid Glue by that point of my model building adventures (bottle water like glue with the brush in the lid) had made a hell of difference in my modeling; and I keep it in my arsenal, the old standby ModelMaster's liquid glue in the diamond shape bottle with the long metal pipette on the end, which to this day is my first choice to go to. Between the two, I can do anything I need to do.
Next came the landing gear. I had to use some Squadron Putty on what I took to be two model pin holes....errrrrr, that's what you get for not looking further ahead in the manual! They actually were positioning holes for the landing gear support which go on later, so of course, I had to dig out that putty! And all that AFTER I painted the darned things!!! On the pic of the instruction manual, you notice a Radio Operator....that's for the optional Night Flyer version of this bird, which I did NOT build; and actually, I didn't including the Pilot either, as the molding on it are the worst I've ever seen...worse that the Gorilla in my old Bedford QL Gun Portee!
Landing gear painted silver, with Folk Art Acrylic's "Anniversary Silver". Inside landing gear bays painted Interior Green, with Tamiya Acrylics. These would get some color correction during weathering. Then the dual fuselage nacelles were glued together, first putting the landing gear in place...tricky handling needed.




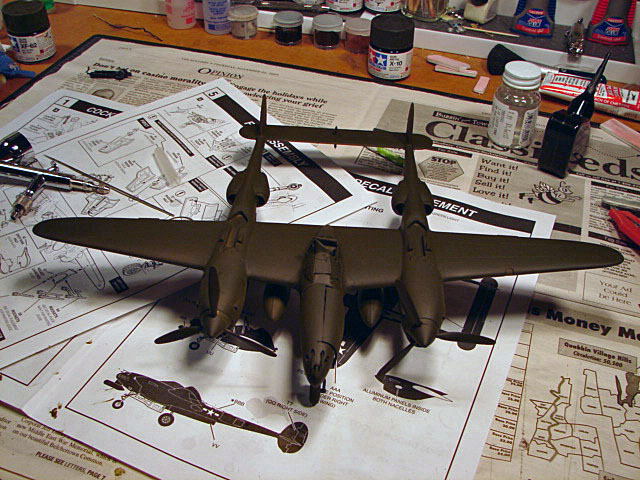
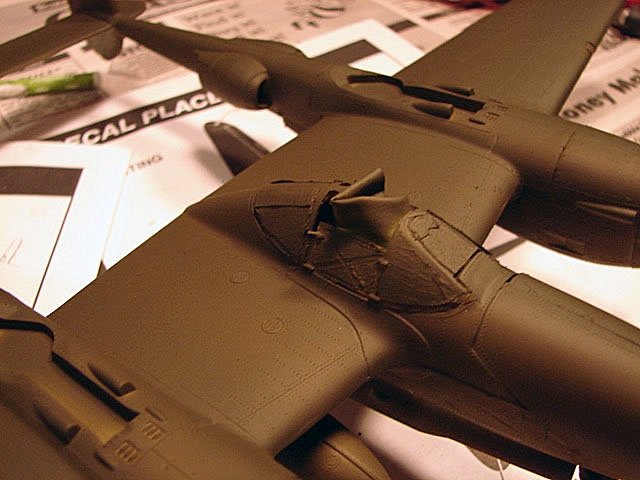
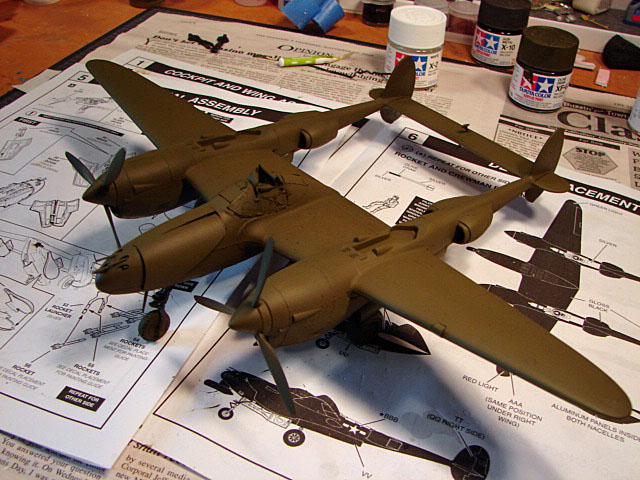
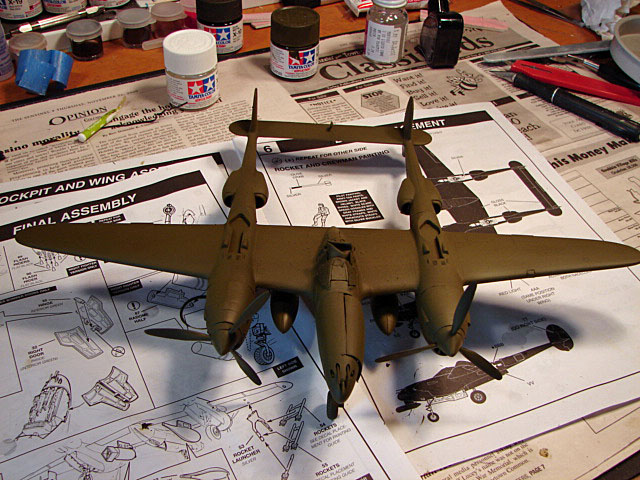
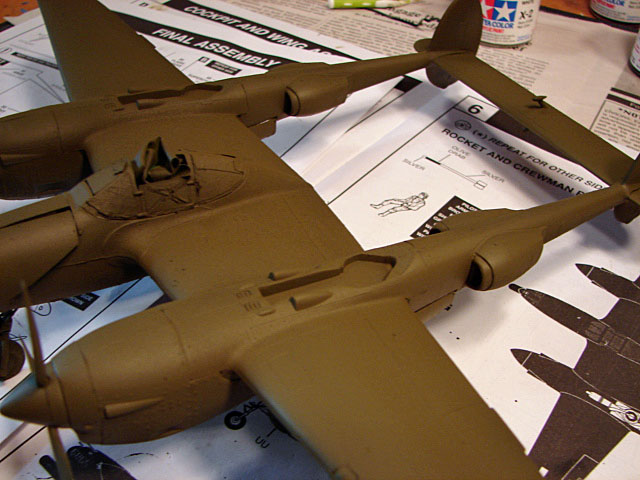
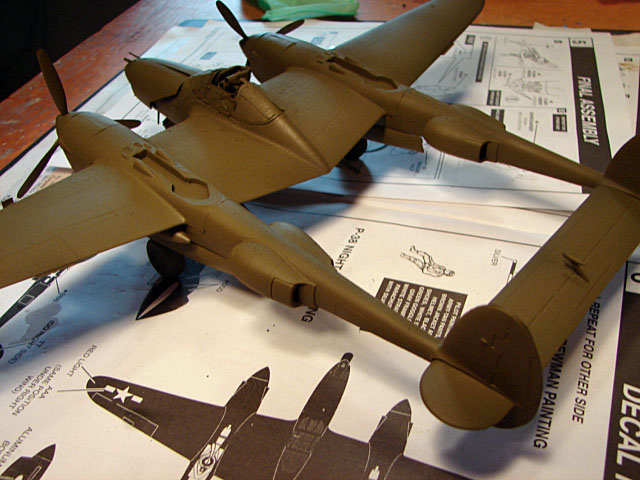
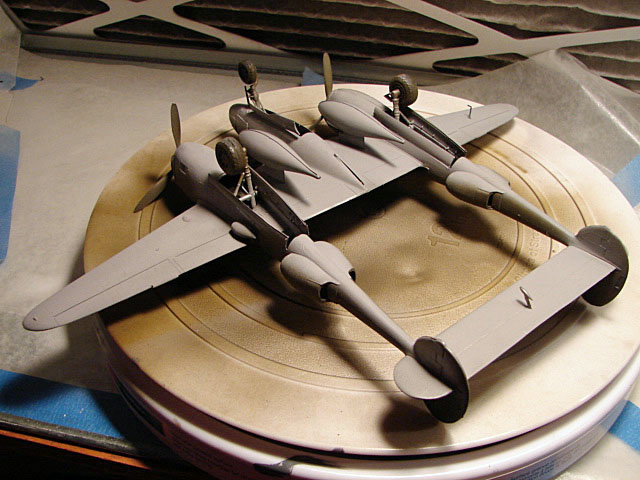
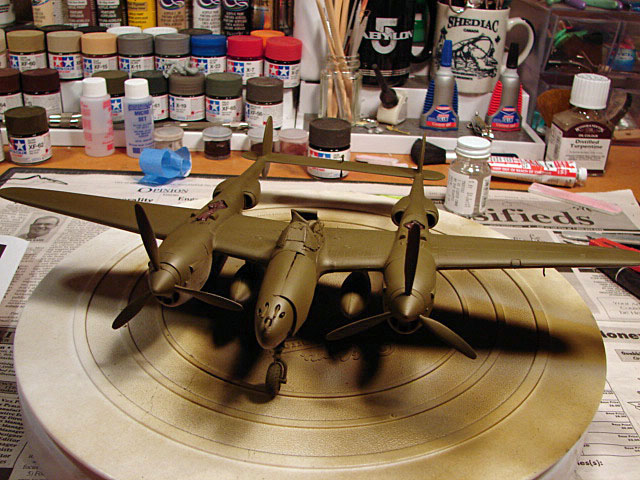
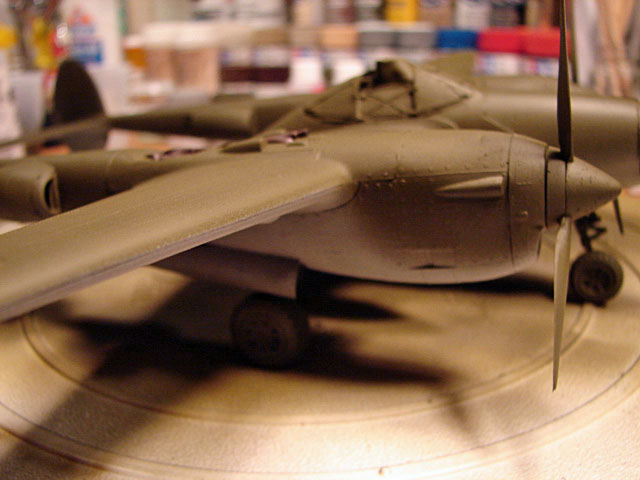
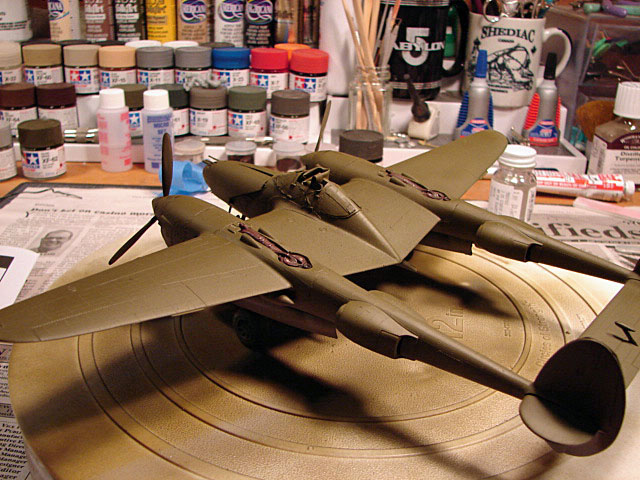
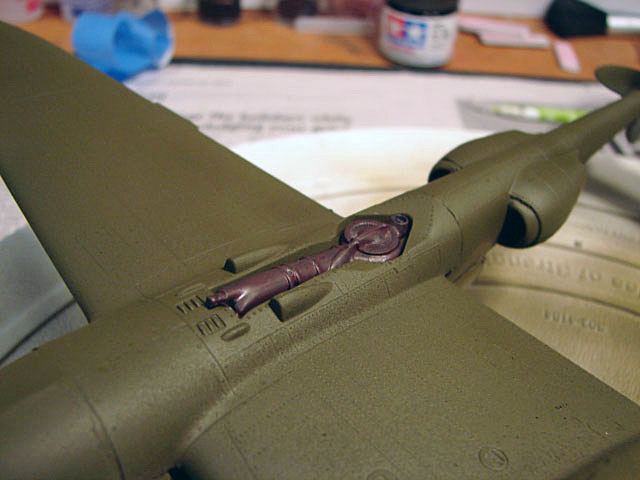
 Olive Drab...