|
|
Post by Whiterook on Aug 30, 2022 19:05:25 GMT -5
So, we left off with my having primed everything, and a promise to show you… the primer was Vallejo Surface Primer, and I can tell you this stuff is brilliant! I used the black one (it comes in gray, too) ans the coverage was nice. 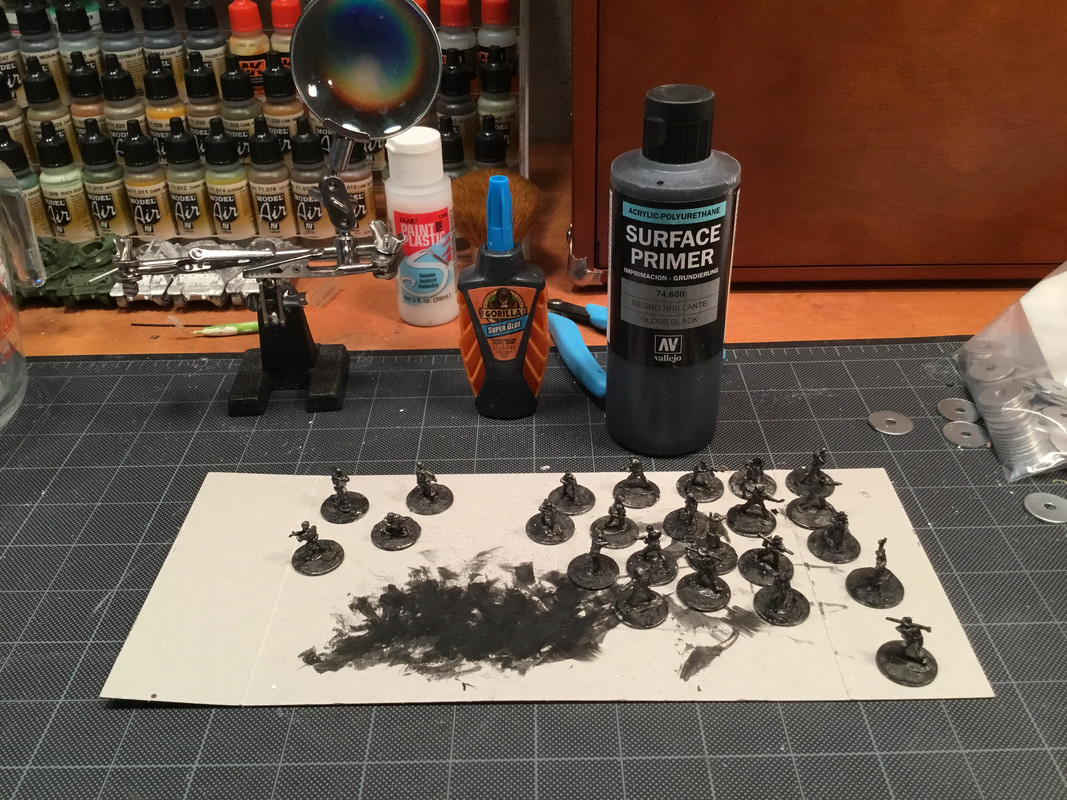  Tonight, I wanted to start with a total coverage of Black acrylic paint, and discovered something amazing… I don’t have any in my Vallejo, Model Master, or AK Interactive collection  …I do have Tamiya, but I know from bitter experiences that it is far too watery to use with hand brushing, and you already know I’m too lazy to dig out the airbrush (…I may have to work in that penchant!). So, I went with Plaid brand craft acrylic Black; this may bite me in the ass, as it’s for plastic surfaces, but hey, acrylic is acrylic paint, right? Right? Anybody? Well regardless, the Plaid acrylic paint went on nicely, and from what I can tell thusfar just post application, not too thick. 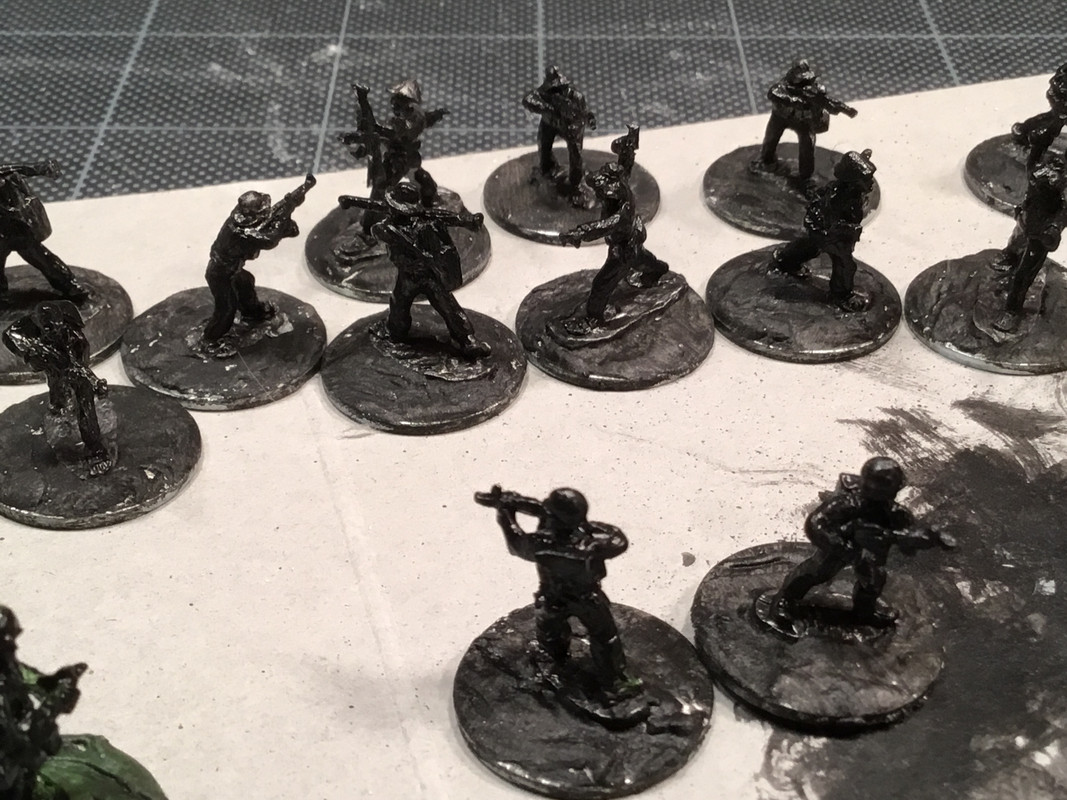
…we’ll see tomorrow! |
|
|
|
Post by Whiterook on Sept 3, 2022 15:18:29 GMT -5
Been sidetracked the last four days… Major home renovations going on, with seeing contractors for bids and settling on a great one for a new furnace/hot water heater/ac unit going in through the midweek. That had me working on the clearing space around my furnace, which took me all day today! Had to take the train layout down  I’m gonna try and get paint on the Viet Cong and Americans over the next couple days, before moving a long storage table I have behind my workbench chair, flush to the workbench… so a limited window of opportunities before the workshop is closed for at least all next week. |
|
|
|
Post by Whiterook on Sept 3, 2022 18:44:46 GMT -5
WOW, as I get into the actual painting of these, I can unequivocally state that I am not a 15mm soldier painter! OMG, these are tiny!!! OK, I digress… I noted that the minis had a definite shine to them. Though I was planning to finish this project with a Future mixture Dull-Coat fir protection, I decided to put a single light coat of Tamiya Flat Blsck on all the Viet Cong…  This is where this post started…Tamiya is so watery that it dries very quick; by the time I’d made it to the 20th VC, I swung back to #1 and started drybrushing a Blue Gray highlight to the uniforms where they are sporting “VC pajamas”. That helped considerably. I then spot drybrushed some dust color here and there; followed by starting the faces, hands, and feet. OMfG! I haven’t felt this taxed since the planes on my USS America aircraft carrier! I did about four and gave up for the night… I’m beat from cleaning the basement today so, I’ll have another go Monday.  pics forthcoming |
|
|
|
Post by Whiterook on Sept 5, 2022 13:46:20 GMT -5
OMG (<— I keep saying that a lot!), I am so not used to working in this scale for miniature figures! I’m having issues with holding them, because I have a weak left thumb that and sustained gripping such small washer bases is a challenge. Ah, age! Well, I had a small window of opportunity this afternoon for a little more painting before closing the workshop down for the rest of the week for the contractors to do their HVAC thang. The faces of the Viet Cong were too dark after the paint dried so, I used the same craft paints to mix some White into the sand colored paint to make a lighter flesh tone… the faces pop a lot better now. I’ll probably throw a yellow/reddish wash on later… and the final wash at the end will tone the color down a bit. I also did the feet, which was hell. Even using my smallest Artist brush (like a 000), the trick was trying to drybrush in order to leave some of the dark between the toes giving a 3D effect, but craft paints aren’t made for this small scale! Getting the right load of paint on the brush was super time consuming and maddening. I also did the conical Non La “paddy hats in a somewhat beige base color… brighter highlights will be added later. As well as the crusher hats, in a darker hand -mixed color which has a gray time introduced. 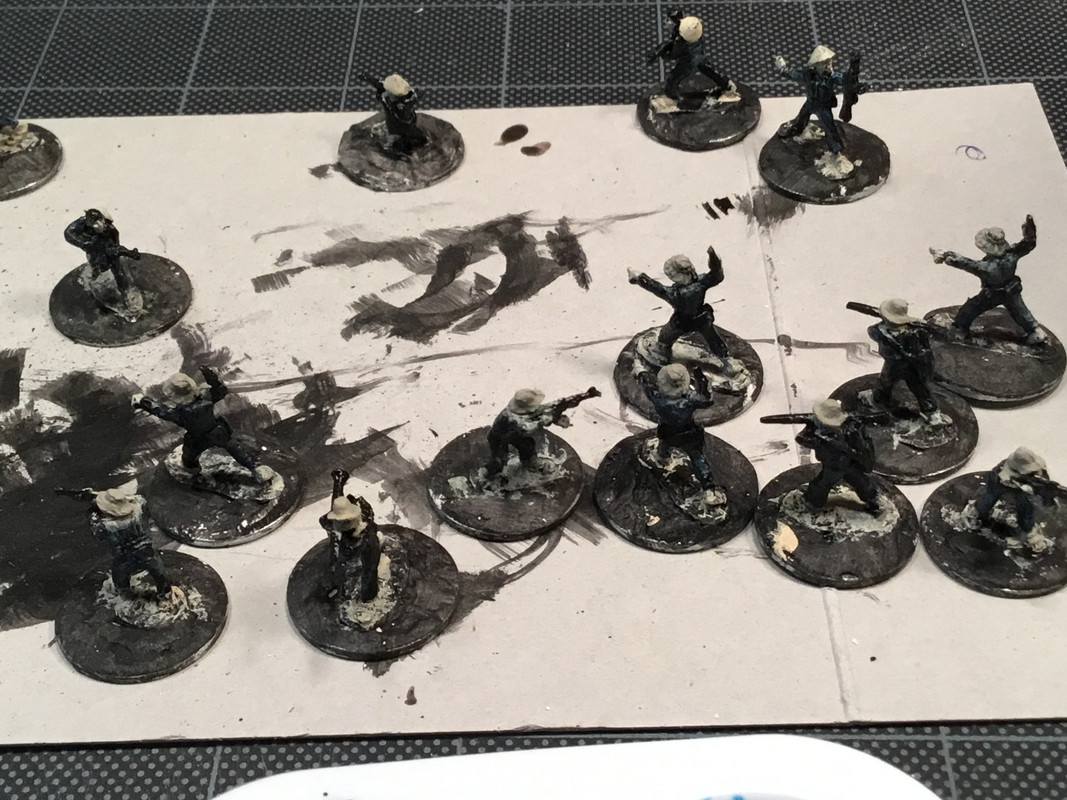 Well, at least it’s not a sea of black figures now! so you will note I’ve paint where it shouldn’t be… learning curve is teaching me that even with a brush with barely any bristles on it, there’s just no way for my hands to maneuver paint into micro cavities, such as under pant hems and chins! I decided to go for coverage first, and touch ups of the blacks later.  …the Americans just got faces   you can see by my palette that I’ve got a bunch going on here! 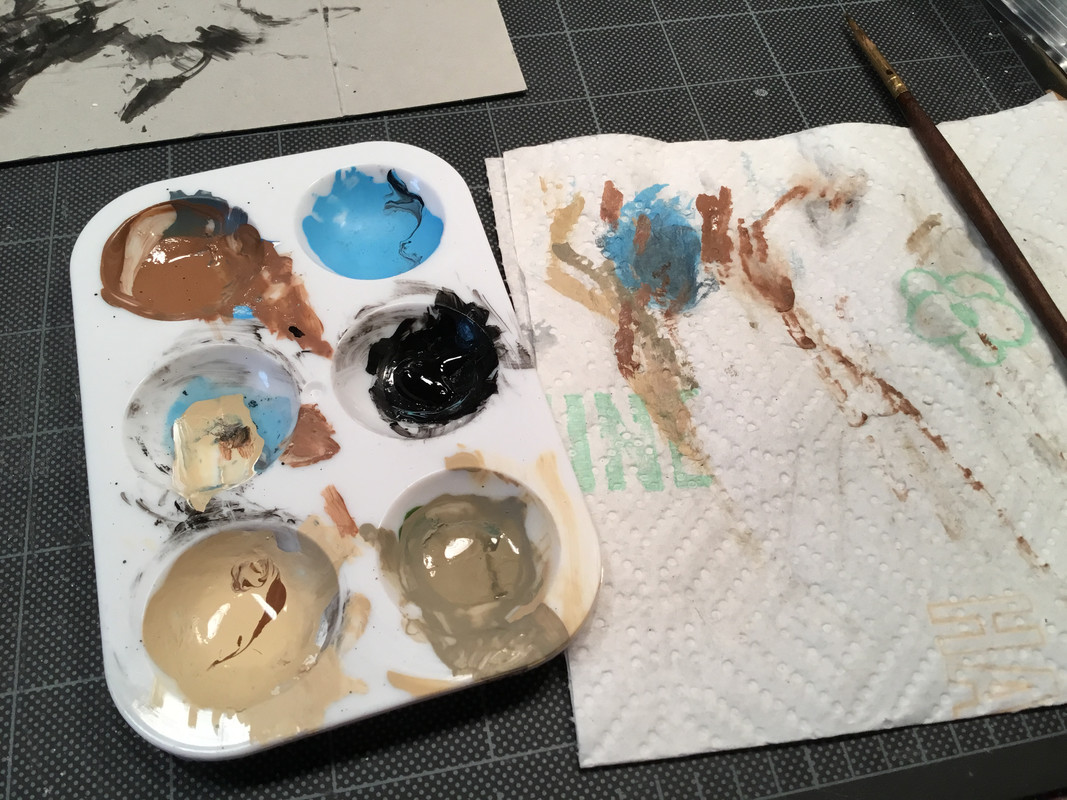 …that’s because I started the gun belts and holsters, canteens, bazooka shell carrying cases, ammunition belts, and other clothing items. Real eye strainers! 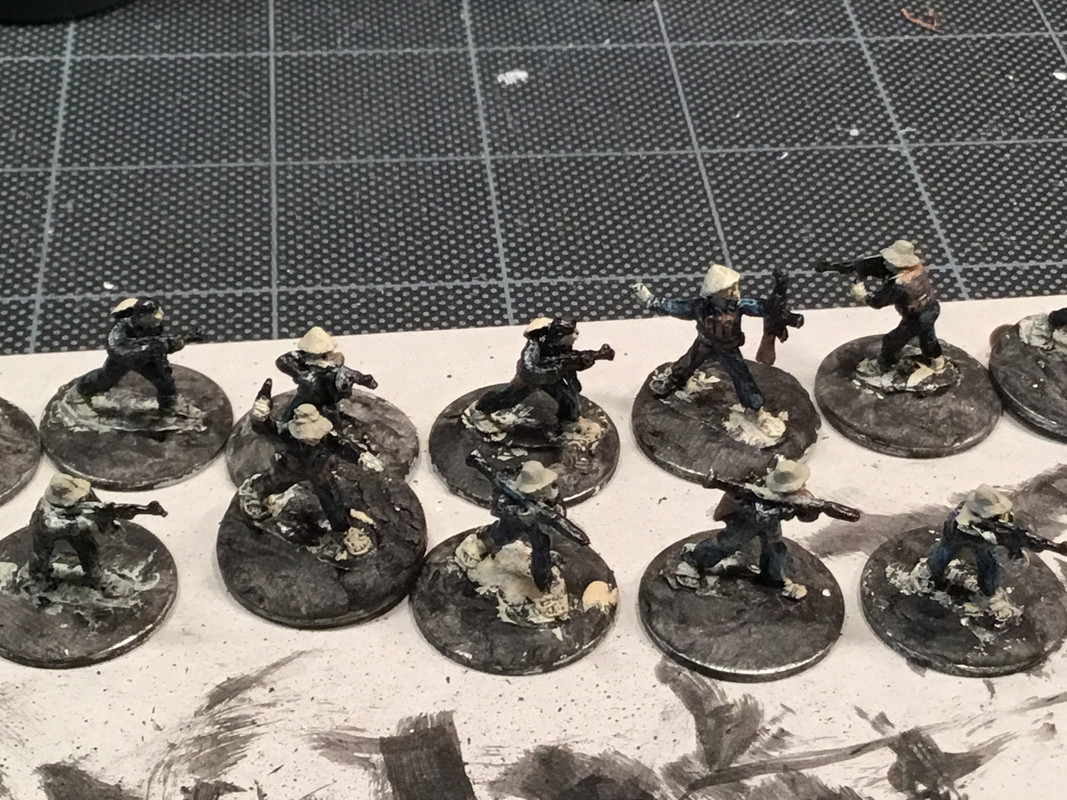   …that’s as far as I got today. The project is on hold until likely next week. What’s to come? Well, get some of the black back in over the overbrushing; highlights to the pajamas and paddy hats; sandals (…that’s gonna be hell!); color adjustments; overall dirt wash; and sealer. Yeah….I’ve got this!  |
|
|
|
Post by Whiterook on Sept 10, 2022 19:32:33 GMT -5
So, I don’t know, man! These are coming along…Very slowly…and I’m nit feeling the love so far! When I’ve worked in 28mm, I could see very good results right after the basecoats, like my Stargate SG-1’s Jaffa figures, for instance. These so far, look a mini step up from dog shit so far! I got my furnace room re HVAC’s this week and I was able to get the workbench back in place seating-wise, as the table to my back had mpbeen moved right up to the workbench. These 15mm miniature figures are so bloody tiny! I look at these, to where I just finished tonight, and look upon Mike as a freakin’ GOD! OK, enough whining  …we left off with the hats, helmets, gun belts, packs, and armored vests all getting their base coat colors painted — a darker shadow color, theoretically to maybe show throug from upcoming final colors and highlights. They also got a shadow color of blue fatiguing. Tonight. I wanted to first add in some gray, using Vallejo acrylics dabbed and brushed in some areas, with ebpnough of the blue toned down a bit in the process. I then wanted to put a first color of green on the American uniforms, equipment, and helmets — more final color will come next and then maybe some fatiguing. I also wanted to put the first layer of green on the “ground” at the figures’ feet. I did this, and earlier work with this array of paints…  The result? Well, let’s just say I graduated to puppy poop!  Closer for the Viet Cong…  And the Americans…  Meh.  More color is to be added, equipment touch ups, and gun metal highlights; I’ll do something with the ground, probably some diorama terrain something or other; and I plan to put a wash or two on them with sealant towards the end of the painting process… not sure if I’ll go with a craft paint sealant I got and never uses, or my home brewed Future floor acrylic concoction. It’s night time here and the light is only so good. And pics taken with an iPad (which sucks in a good day!). But this is about best I can achieve nearing the end. I’ll need to pull a rabbit outta my hat on this project! Worst case though, it’s still a considerable jump forward for thr Mike Lambo game, than pencil marks! |
|
|
|
Post by Whiterook on Sept 11, 2022 14:11:48 GMT -5
Todays lineup!  This is actually, my first go at working with airbrushing paints, Vallejo Model Air, though following the miniature painting community, I know many use these type of extremely watery style acrylic paints pretty much or totally exclusively. I see Citadel used a lot, and a few other brands. One thing I am learning is, they leave cover with a much smoother finish than craft acrylics (Folk Art, Apple Barrel, etc., found in large selections in major craft stores)… that of course, is because the former use much finer ground pigments in the formulation; whereas the downside is, they don’t go on as opaque as craft acrylics and require more coats… but that can be a boon, as the coats are lighter and you can strategically layer colors atop colors. What I’ve been experimenting with successfully is blending the two types at times (not always, but now and then for a desired application consistency. For instance, the last coat of green on the US Army figures was straight Vallejo acrylics…  …being a premixed in bottle US Army Green, it was a no fuss application straight from the bottle! Today though, I wanted to get some weathering on the uniforms, and in the process of drybrushing, also lighten up the pack straps. To do this, the Vallejo paint would be too thin (for my skill level, anyway, if it’s even possible), so I mixed a concoction of Vallejo Olive Green, with a little craft acrylics in Green and Black… this allowed me to load an Artist flat brush, wipe off the excess on a paper towel, and drybrush onto the helmets, equipment of that color, and uniform high edges, with some dabbing in the flats for contrast against the initial undercoat. 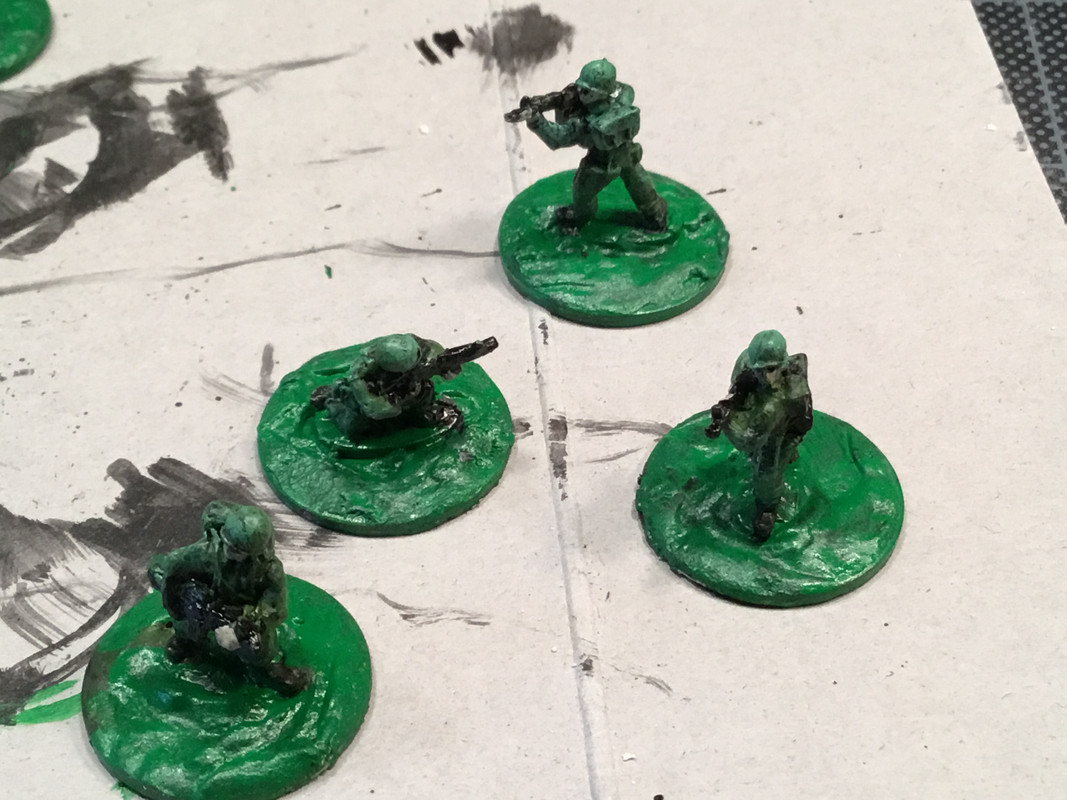 …the effect was a nicely smooth painted surface with wonderful gradations. Boots were painted with Vallejo Brown. I started with the soft hats of the Viet Cong, using a hand mixed color of light green with Vallejo paints, which filled in the rough depressions from the craft paint pigments. Then I Vallejo Duck Egg Green, for the equipment patch straps, and added touches of color to packs, immediately dabbing at the fresh paint to subdue the color, allowing the undercoat of the previous color to re-emerge. Vallejo Dark Gray Blue was them used to touch up the “pajamas” where the green bled, as well as touch up areas needing the color. Last came the sandals… OMG! I needed to do a kind of drybrush flat dabbing, with a mixed color of both Vallejo and craft acrylics, which worked well enough for the scale. The Duck Egg Green on belts and straps really made the minis pop better, giving more of a 3D effect and variety. I added some Tamiya Gun Metal to all guns… I’ll go in and do some highlights next session.  I need to go back in on hands, and maybe a few faces that were lost of missed in the previous prior painting sessions.   It’s about ready for finishing up the bases with texture and terrain grass… then washes and protective coats. I’m starting to get excited at the prospect of getting these in play! |
|
|
|
Post by Whiterook on Jan 7, 2023 13:47:09 GMT -5
So as you can see, it’s been four months since I touched these! …weird how a project can go on the back burner for so long. We had a new furnace and hot water heater (and a new outside ac unit) replaced in the furnace room where my workshop is, and it caused a ripple effect of moving stuff around so the workers could get in and do there thing….and that moving involved pile up’s in the workbench. Ugh. I managed to clean the workbench up over the last couple days and hence, my work space…  I spent a little time afterwards, in this neglected project. I finally got a coat of Citadel “Declan Mud” wash on both factions… and then Citadel “Camo Green” drybrushed onto the “ground”.   Some close-up’s…    The wash helped tremendously with the faces, adding depth, and added field dirt to the uniforms and equipment. The Camo Green was a nice fit for the Vietnamese jungle ground grass color. Not sure I’ll add any flocking…maybe one day, but these are so small, I'm not sure it’s worth it. I’ll let everything cure overnight… I might try some very light, dust shade drybrush, but just for highlighting and giving a little more pop; not sure yet on that. Overall, these are pretty close to getting a clear coat and then, hitting the table! |
|
|
|
Post by Whiterook on Jan 10, 2023 14:59:28 GMT -5
We’re nearing the end of this build! Today, I put a little dusting on all the miniatures, dry-brushing on Citadel “Elf Flesh” acrylics straight out of the bottle. I went a little heavier on the equipment bags and belts, which made them pop a little better… I only put enough on to allow the color beneath to still dominate. Afterwards was some new territory… Matte Varnish! I don’t mind confessing, it freaked me out a tad at first! I decided to brush it on, instead of airbrush; and yes, I realize the latter would be more effective, but I’m lazy! Here’s what they look like at the moment, as I let them cure overnight…   I’ll see how they look another day and go from there. I may just call this one complete at this juncture. They are certainly good enough to play with on the game I want to use them with… “Ghosts in the Jungle”.  …I’ll be starting work on square terrain tiles, which I’ll be making myself. |
|
|
|
Post by Whiterook on Jan 15, 2023 15:49:05 GMT -5
|
|
|
|
Post by mikeh on Jan 20, 2023 12:02:49 GMT -5
Nice job Em! I'm swatting mosquitos and looking for trip wires just looking at your Victor Charlie's.
|
|
|
|
Post by Whiterook on Jan 21, 2023 9:40:37 GMT -5
Nice job Em! I'm swatting mosquitos and looking for trip wires just looking at your Victor Charlie's. That’s quite a compliment! …thank you! Saved of 1-10, I’d give them a solid 8. I should do a little more with the bases, but for the game use I have in mind, this is enough. Not sure I’m happy with the faces, but then again I’m not sure there was enough detail to them to make them any better. I had a devil of a time with drybrushing highlights, as these are so small; there’s only so much detail a manufacturers can give at 15mm figures. I was also, hoping to get a little more blue shad and tone come through, but having black PJs, the VC are what they are… I was a little more happy with the US guys’ uniforms. |
|
|
|
Post by mikeh on Jan 21, 2023 12:37:28 GMT -5
They look great, as you say they are 15mm. I have learned to like the smaller scale and lack of detail in these gaming pieces, takes the pressure off.
|
|